Mummy hot dogs are fun and easy addition to a Halloween dinner. They take just a few ingredients and very little preparation, making them perfect for a busy Halloween evening. I like serving them alongside a bowl of chili for a hearty dinner before heading out for trick-or-treating. They are also fun way to make an everyday favorite a little more festive for the holiday.
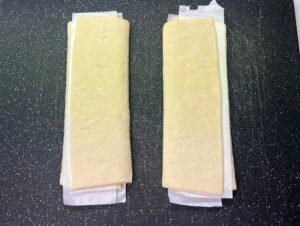
You can use traditional hot dogs or switch things up with chicken sausage. My daughter especially loves making these with chicken apple sausage. I am making a combination of both, and two sheets of puff pastry are just the right amount to wrap eight hot dogs and four chicken sausages.
What Makes This Recipe Work
Simple ingredients. All you need are hot dogs or chicken sausages and puffed pastry dough to create these fun Halloween treats.
Easy preparation. Wrapping the hot dogs in strips of dough is simple, and they bake in the oven until golden brown.
Easy to customize. Use traditional hot dogs or experiment with different chicken sausages.
Mummy Hot Dogs
A fun and easy Halloween dinner addition made with flaky puff pastry, hot dogs, and chicken sausage. Perfect alongside a bowl of chili before heading out for trick-or-treating.
Preheat oven to 400 degrees and line two baking sheets with parchment paper.
Cut strips of each defrosted puff pastry sheet into 12 strips.
Using 2 strips of puff pastry wrap each hot dog and chicken sausage. Squeeze ends of puff pastry together. Place on baking sheet and repeat with each hot dog and chicken sausage.
Brush each wrapped hot dog with beaten egg.
Bake in oven for 25-30 minutes or until puffpastry is golden brown and hot dogs or sausages are heated through.
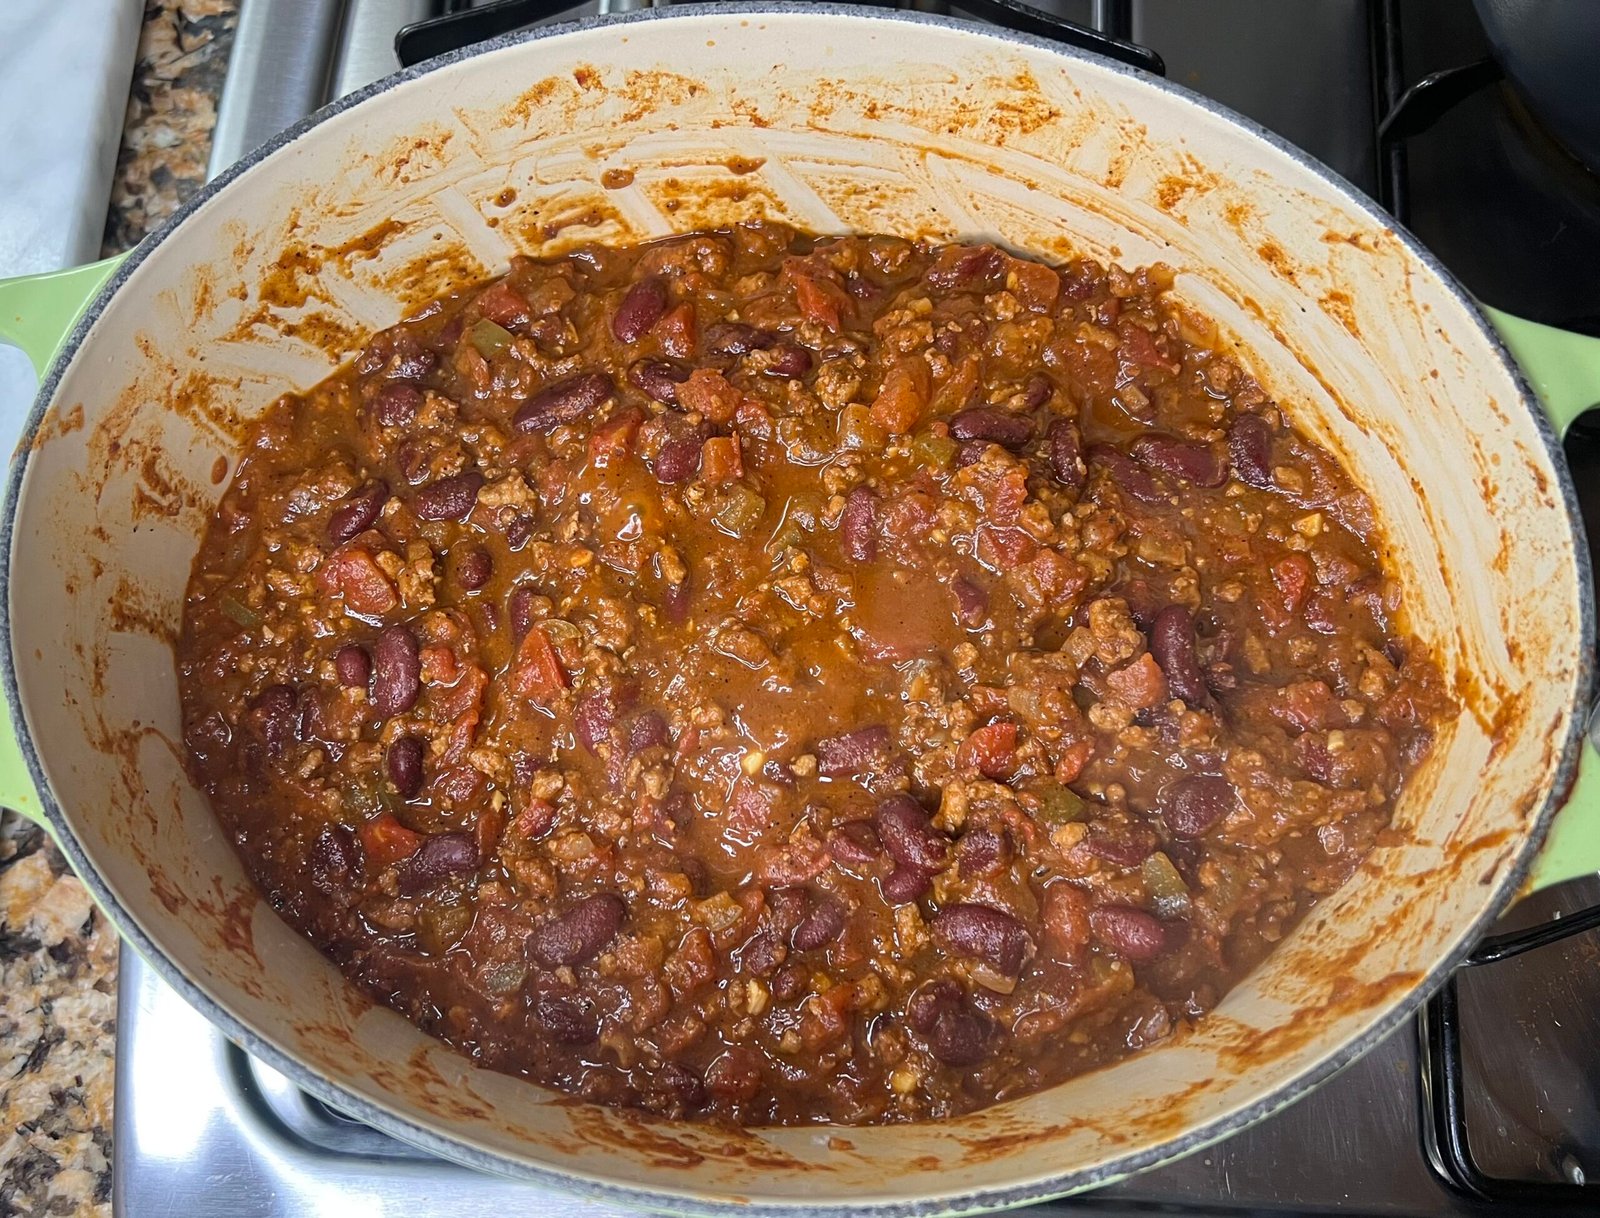
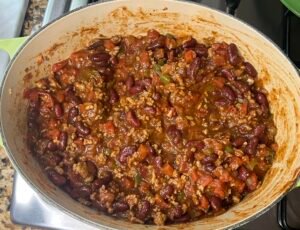
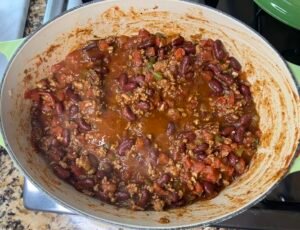
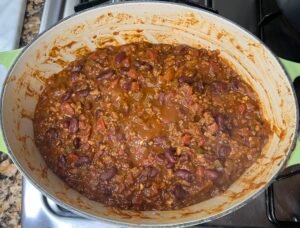
Chili is an American favorite and a signature dish in our house during football season. It is classic family dinner that varies by family and region to region. It is also a versatile dish that allows you to play with toppings, flavors, and how you serve it. For this recipe, I am sharing my favorite go-to chili which is technically a Cincinnati-style chili recipe. However, I never serve it over spaghetti. I simply find the flavors of Cincinnati chili to be the best.
The result is a chili that is a little different from your traditional bowl of chili. It has a rich, savory flavor with a subtle complexity that makes it stand out from other chili recipes. I like that it is still comforting, satisfying meal but has a unique flavor profile that makes it something a little different from the usual weeknight chili. It also one of those recipes that is easy to make your own depending on how you decide to serve it.
In our house, we often serve this chili on its own with simple toppings like shredded cheese and Fritos. We also use it to make chili fries and top hot dogs, which makes for an especially fun game-night dinner. For Halloween, I serve this chili alongside mummy hotdogs. This chili is easy enough to make on a weeknight or even just before you head out trick-or-treating.
What Makes This Recipe Work
Warm spices. Adding cinnamon and allspice alongside chili powder, cumin, and oregano gives this chili its unique flavor. It is just enough to know there is something different without overwhelming the chili or making the flavor seem unusual. It is perfect for fall but delicious all year long.
Ground turkey. Using ground turkey makes this chili feel a little lighter while still delivering plenty of flavor. It also holds up surprisingly well in this recipe, maintaining a nice texture throughout the cooking process.
Chocolate. Adding chocolate at the end of cooking gives the chili a subtle hint of sweetness and an added depth of flavor. It is a small ingredient that makes a difference in the finished dish. My family can always tell when I forget to add it!
Versatile Toppings. Whether you keep it simple with shredded cheese or add Fritos for a little crunch, the toppings let everyone make their bowl their own. You can also take it beyond a traditional bowl of chili and use it for chili fries or hot dogs.
Cincinnati Chili
A flavorful twist on traditional chili with warm spices and a hint of chocolate. Perfect for football season, family dinners, or serving over fries and hot dogs.
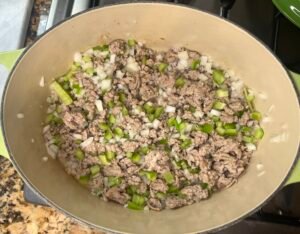
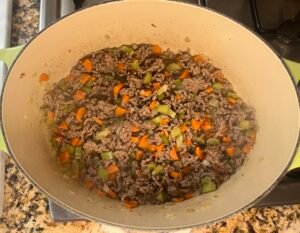
Heat oil in large dutch oven over medium heat. Add ground turkey and crumble. Cook for 3 minutes or until turkey is nearly done. Add onions and green bell pepper. Season with salt and pepper. Cook until onions are translucent about 3 minutes.
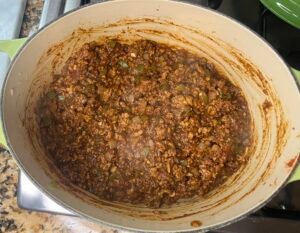
Add garlic and cook for 30 seconds. Add spices and tomato sauce, and stir to combine. Cook for 1 minute.
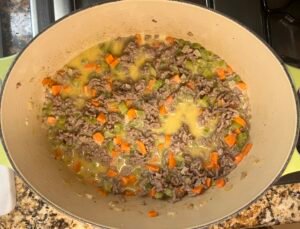
Add chicken broth, kidney beans, and diced tomatoes, and stir to combine.
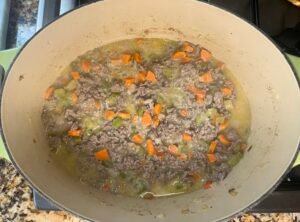
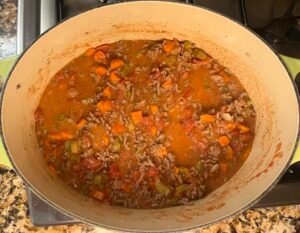
Bring to a simmer and cook for 20 minutes until more for a sauce like consistency.
Stir in chocolate and season with salt to taste.
Serve with handful of shredded sharp cheese or your favorite toppings.
Notes
Don’t worry if your chili looks too liquidity when you add the chicken broth, beans, and diced tomatoes. As the sauce simmers the mixture will become more of a saucy consistency.
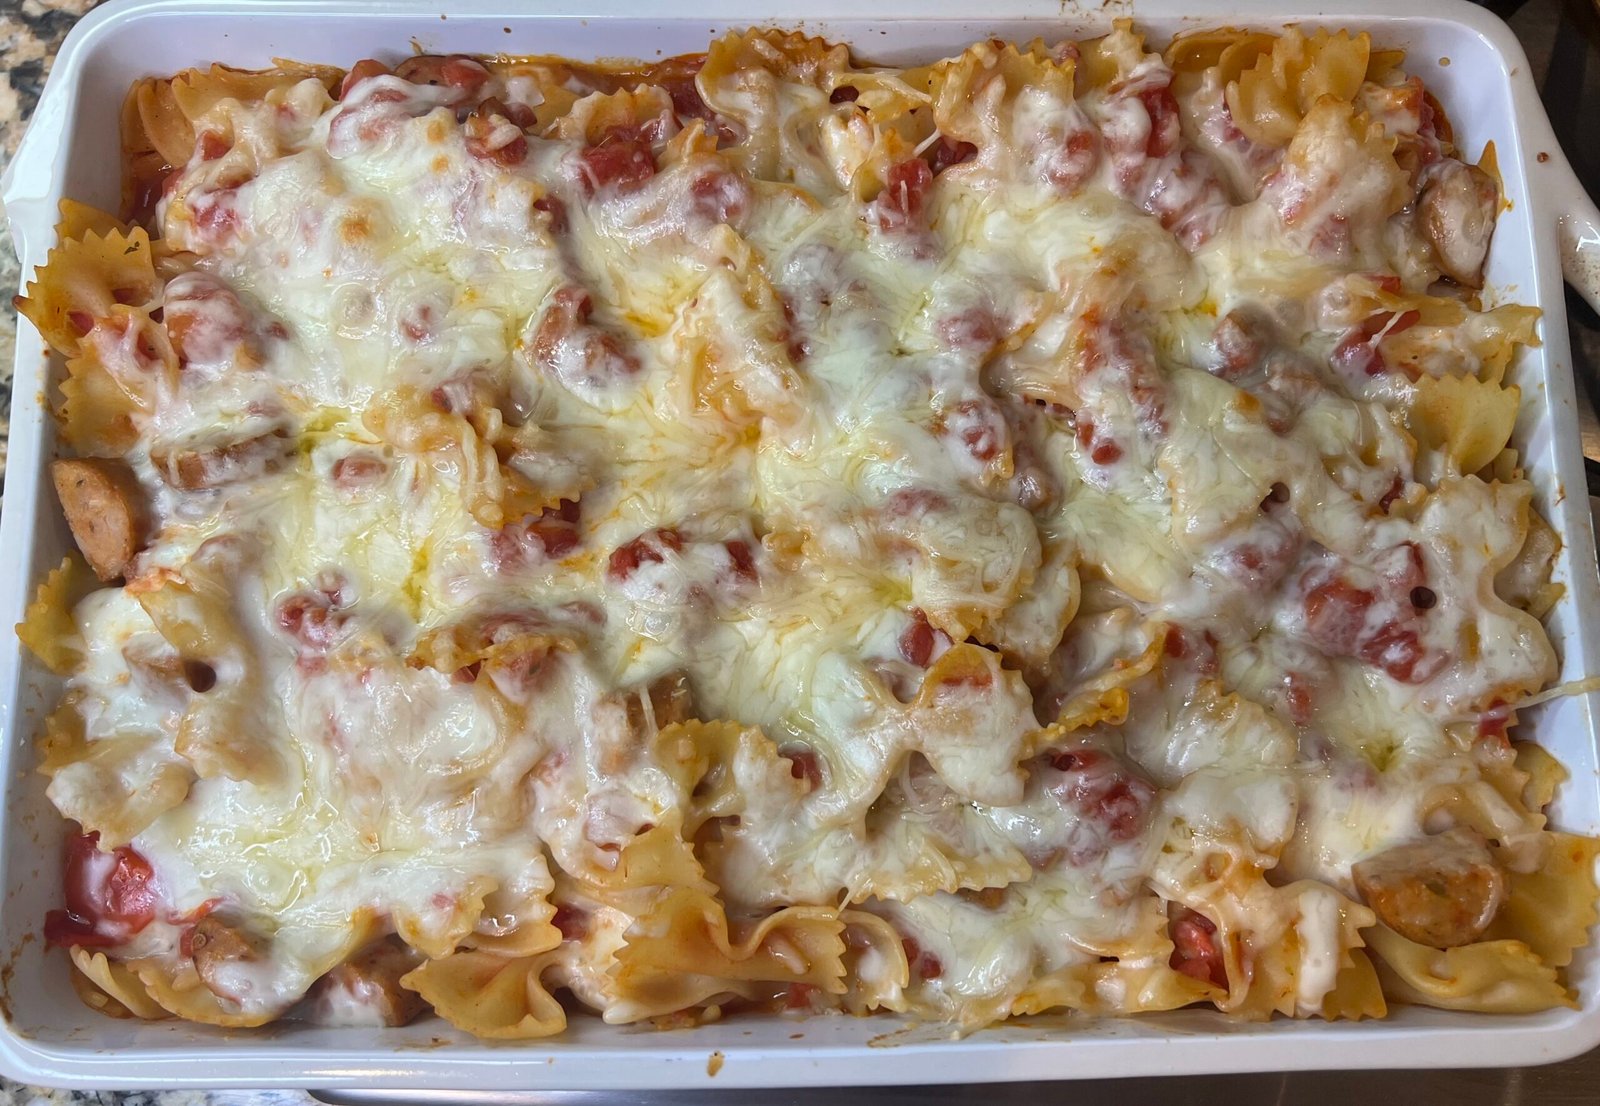
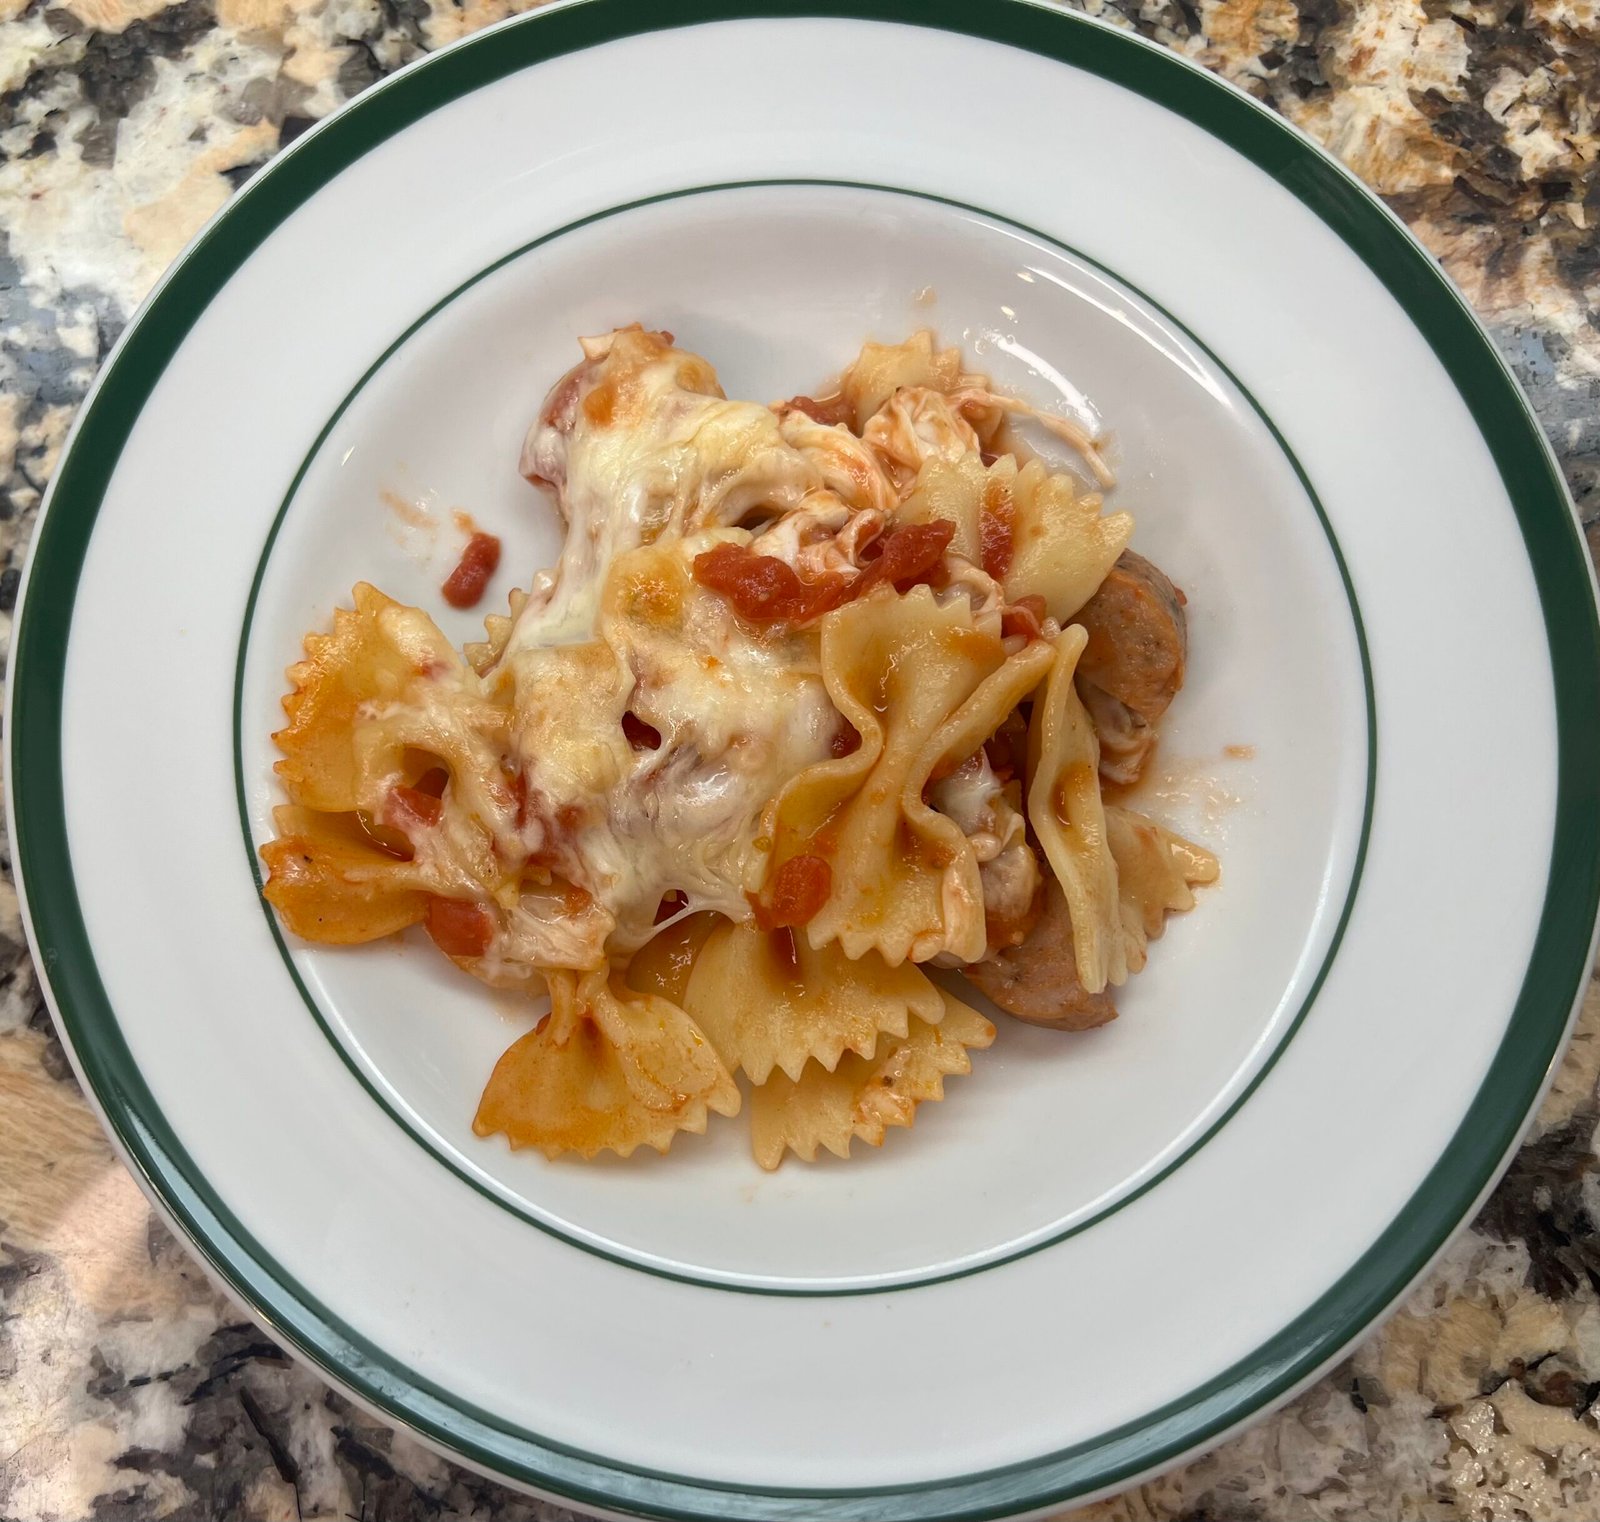
This pasta dish is perfect for a Halloween-themed weeknight dinner. Farfalle pasta gives the dish its bat-inspired name, while the melted mozzarella creates a delicious, stretchy strands of cheese that resemble cobwebs. Beneath the festive presentation is simple yet surprisingly delicious combination of simmered tomatoes, chicken sausage, and fresh mozzarella. It is a dish the whole family can enjoy for Halloween, but it is so good that you may find yourself adding it to your regular dinner rotation.
One of my favorite things about the recipe is how easy it is to customize the dish. You can vary the kinds of chicken sausage. You can start with Italian sausage, but also switch things up to a smokey or sun-dried tomato variety. It is a simple way to change the flavor without any additional work.
Although this dish finishes in the oven, the preparation is quick and straightforward, making it a great option for a busy weeknight. Start with heating up the water for the pasta while you begin making the sauce. While the sauce simmers, dice the chicken sausage so it is ready to go. The sauce develops plenty of flavor and reaches the desired consistency in just eight minutes, but you can let it continue simmering on low while the pasta finishes cooking.
Once everything is ready, combine the sauce with the pasta, chicken sausage, and mozzarella pearls, then transfer to a casserole dish. Top with shredded mozzarella and bake until the cheese is melted and bubbly. The result is a comforting baked pasta with plenty of cheesy goodness and a playful Halloween twist.
What Makes This Recipe Work
Farfalle Pasta. Farfalle, or bow-tie pasta, gives this dish its bat-inspired name. Its compact shape also works well with the other ingredients, ensuring that the pasta doesn’t overwhelm the sausage, tomatoes, and cheese.
Mozzarella two ways. Using mozzarella pearls and shredded mozzarella delivers cheesy goodness in every bit. The pearls melt into the pasta, creating fantastic stretchy strings of cheese which resemble “cobwebs”, while the shredded mozzarella forms a delicious, bubbly topping.
Diced tomatoes. Diced tomatoes provide the base for the dish simple yet signature flavorful sauce. I like to use a combination of petite and regular diced tomatoes to add plenty of tomato flavor without letting the larger pieces overwhelm the other ingredients.
Pre-cooked chicken sausage. Using pre-cooked chicken sausage makes this recipe quick and convenient for a weeknight dinner. Also, it gives you flexibility to adjust the flavor of the dish by picking a variety of pre-cooked sausages that you like. The recipe calls for Italian, but you can use a smoky sausage or sundried tomato sausage too.
Bats and Cobwebs Pasta
A fun, Halloween-inspired pasta bake featuring farfalle “bats,” savory chicken sausage, simmered tomatoes, and gooey mozzarella “cobwebs.” This easy, cheesy dinner is perfect for Halloween but delicious enough to enjoy year-round.
Heat Dutch oven over medium heat with olive oil. Add garlic and cook until fragrant, 30 seconds.
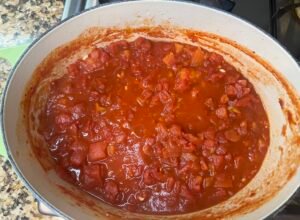
Add diced tomatoes and oregano and season with salt and pepper. Cook on medium heat while stirring occasionally and tomatoes become a sauce like consistency, about 8 minutes.
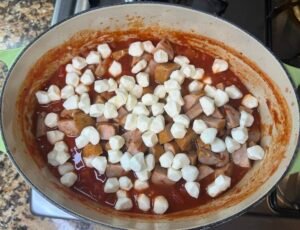
Add chicken sausage and mix into sauce. Turn heat off and add mozzarella pearls. Add pasta and stir to combine.
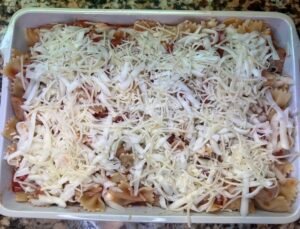
Add pasta mixture to casserole dish. Top with shredded mozzarella and parmesan cheese.
Bake for 10 to 15 minutes until bubbly and cheese is lightly browned.
Notes
You can use a variety of chicken sausages such sundried tomatoes, smoked bell pepper, or sweet Italian chicken sausages.If you can’t find fresh mozzarella pearls, you can use regular mozzarella balls and dice them into smaller pieces depending on their size.
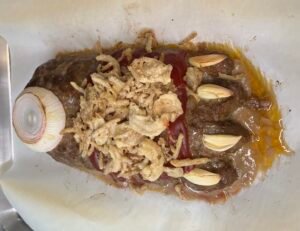
Meatloaf is one of those classic family dinners that everyone seems to have their own favorite way of making. It’s a comforting, familiar dish made with simple ingredients you likely already have on hand. For this recipe, I am taking my favorite moist and flavorful meatloaf and giving it a fun, spooky twist by shaping it into a monster foot. The perfect centerpiece for a Halloween-themed dinner!
I love that this recipe combines the comfort of a traditional Sunday dinner with a little Halloween fun. It’s best made on a lazy Sunday when you have time to let it bake in the oven, filling your kitchen with that wonderful home cooked aroma. Serve it alongside potatoes and your favorite vegetables to complete your Halloween-themed meal. It is a fun way to turn a family favorite meal into something a little creepy and silly.
How to Assemble a Monster Meatloaf
Turning my favorite meatloaf recipe into a monster foot is easier than you might think! With a few simple ingredients and a little creativity, you can transform an everyday family dinner into a fun and spooky addition to your Halloween-themed dinner.
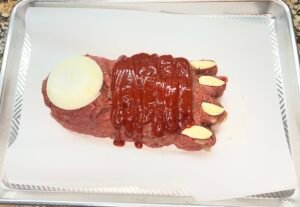
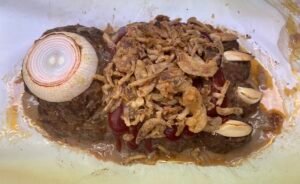
Start by shaping the meatloaf into a log, making one end taller and thicker than the other to create the shape of a foot. Use fingers or a knife to shape four or five toes at the lower end. Keep in mind that you want the meatloaf to cook evenly, so try not to make the different sections vary too much in thickness. You just need enough definition to give it that monster-foot appearance.
At the top of the foot, add a chunk of onion to resemble an exposed bone. For the toenails, use small cloves of garlic or cut large cloves into smaller pieces and position them at the end of the toes. These little details really bring the monster foot to life!
Before placing in the oven, spread ketchup over the meatloaf. For an extra creepy effect, add a little ketchup around the onion bone to give it a bloody appearance. After all, what’s a monster foot without a little Halloween gore?
Finally, sprinkle crispy French friend onions over the meatloaf during the last 15 minutes of cooking. Not only do they add a delicious crunch and wonderful flavor that complements the meatloaf, but they look like scraggly hair of a monster’s foot. It is a fun finishing touch that makes this Halloween dinner both a delicious and delightfully creepy!
What Makes this Recipe Work
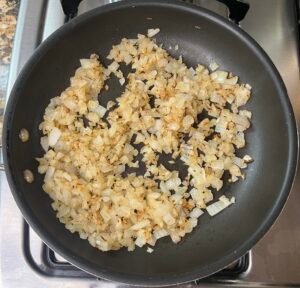
Pre-cooked onions. I like to cook the onions before adding them to the meat mixture. This brings out their natural sweetness and adds a wonderful caramelized onion flavor to the meatloaf. It also helps keep the meatloaf moist and tender. It’s an extra step that I think is well worth the effort.
Worcestershire sauce. This sauce adds moisture and enhances the beef flavor, giving the meatloaf a richer, more savory taste. It is a classic ingredient in traditional meatloaf recipes and one I would not skip.
Crispy French fried onions. Even when not making a monster foot, I like adding French fried onions at the of the cooking process. It really adds great texture and enhances the onion flavor in the meatloaf.
Classic ketchup topping. A simple ketchup glaze provides a sweet and tangy contrast to the savory meatloaf and crispy French fried onions, creating a delicious, flavorful topping as the meatloaf bakes.
Monster Meatloaf
A spooky Halloween twist on classic meatloaf, topped with a sweet and tangy ketchup glaze and crispy French fried onions for a creepy, delicious finish.
Heat oil in nonstick skillet. Add chopped onion and season with ½ tsp salt and ½ tsp pepper. Cook over medium heat stirring occasionally until onions are translucent and start to brown, about 5 to 8 minutes. Remove from heat and add to mixing bowl.
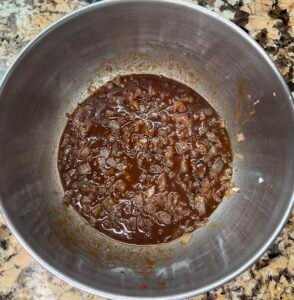
Add Worcestershire sauce, broth, tomato paste, thyme, and remaining salt and pepper. Mix to combine.
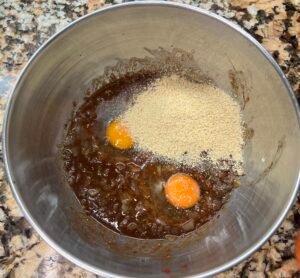
Once mixture is cooled, add eggs and breadcrumbs and combine into wet mixture.
Add ground beef and combine with wet mixture try to avoid overworking the mixture as much as possible.
Shape mixture into a loaf on a parchment lined baking sheet. Then continue to shape into a foot. Add sliced onion piece, cloves of garlic, and spread on ketchup.
When meatloaf only has 15 minutes remaining of cooking time, remove from over and add French fried onions. Then place back in oven and complete baking time.
Bake for 1 to 1 hour and 15 minutes, until the meatloaf has an internal temperature of 160 degrees and the meatloaf is cooked through.
Notes
For the broth, you can use either chicken or beef, whatever you conveniently have on hand.
These cookies are the longest standing Halloween tradition in our house, dating back to when my daughter was in preschool. This recipe makes a generous number of cookies, so it definitely helps to have some extra hands, especially when it comes to frosting and decorating. It has always been a group effort that sometimes extends to aunts, friends, and grandmas. As my kids have gotten older, they may not help as much as they once did, but they still always contribute.
The cookies are easy to make but time consuming, making them perfect for weekend baking project. The dough comes together quickly but needs to chill in the refrigerator before being rolled out and cut into your desired shapes. Rolling the dough, cutting into shapes and baking the cookies becomes quite the assembly line. Fortunately, the cookies don’t take long in the oven so the process moves along smoothly.
I recommend setting aside a large counter space or table for the cookie decorating. I usually cover our dining table or kitchen island in foil and place the cookies there to cool. The cookies will still be soft when they first come out of the oven, so I let them cool briefly on the baking sheet before transferring them to the decorating area.
Depending on how many helpers I have, I set up this workspace with frosting and an assortment of sprinkles. If you have a few helpers, I recommend making the frosting before you start baking the cookies. Since the cookies cool quickly, everyone can start decorating while you finish baking the remaining cookies. To make things extra fun, divide the frosting into separate bowls and add food coloring to create a variety of colors.
These cookies are especially perfect for fall thanks to their distinct flavors. Cinnamon, nutmeg, and brown sugar give the cookies a warm sweetness that fits the season beautifully. The frosting adds just the right amount of sweetness. I will admit that I have occasionally used store bought frosting when I am short on time, but homemade frosting is worth the extra effort because it as it tastes so much better than anything at the store. A hint of almond extract in the frosting gives it that special something while keeping the amount to one half teaspoon ensures that the flavor doesn’t overpower the cookies.
What Makes This Recipe Work
Cinnamon and nutmeg. These warm spices give the cookies a distantly fall flavor, making these perfect for Halloween.
Brown and granulated sugar. Using both sugars adds depth of flavor and gives the sugar cookies their distinct taste.
Baking powder. Helps create a tender cookie that is ideal for decorating.
Buttercream frosting. Adds just the right amount of sweetness while providing the perfect canvas for festive sprinkles.
Halloween Sugar Cookies
Soft, warmly spiced sugar cookies made with cinnamon, nutmeg, and brown sugar, topped with sweet buttercream frosting and festive sprinkles.
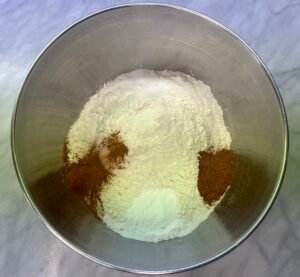
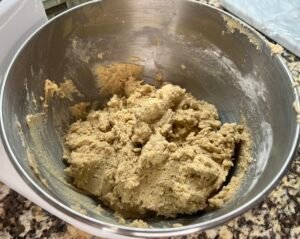
Prepare your dry ingredients by adding into a separate mixing bowl, the flour, baking powder, cinnamon, nutmeg, and salt. Whisk until well combined.
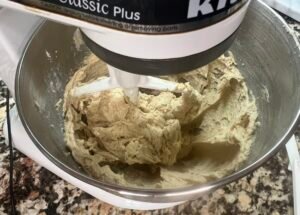
In a separate bowl with a stand or hand mixture, add butter and both sugars. Using your mixer, cream these together until well combined. Add eggs one at a time and incorporate into mixture. Add vanilla and blend into mixture. Make sure to scrap down sides of bowl with a spatula along the way.
Mix the dry ingredients into the wet ingredients until just blended. You do not want to over mix. You can scrape down the side of the bowl and do one more quick mixing of the ingredients if needed.
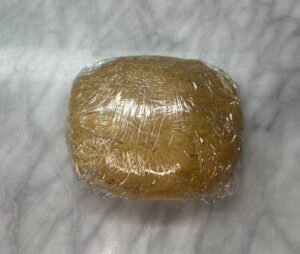
Divide dough into three portions and wrap in plastic wrap. Chill in refrigerator for 45 minutes or up to 2 days.
When ready to bake, preheat oven to 350 and line baking sheets with parchment paper.
Working with one portion of the dough at a time, remove from plastic wrap and set on floured work surface and roll out dough to ¼ inch thickness. Use cooking cutters to make desired shapes. Transfer to parchment lined baking sheets and place one inch apart. Repeat with remaining dough by gathering scraps and pressing them together into a ball, and repeat these steps until scraps are completely used. Repeat with remaining chilled rounds.
Place pans in preheated oven and bake for 8 or 9 minutes or until cookies are brown on edges and firm. If baking more than one baking sheet at a time, rotate in oven halfway through cooking time. Cool on sheets for 1 minute and then on cool surface. Cool sheets before filling with more cookies.
Frosting and decorating cookies
In a large mixing bowl, cream butter with mixer until smooth. Add 1 cup of powdered sugar, milk, and salt. Beat to combine.
Add remaining sugar, almond extract, and vanilla. Beat to combine.
Add additional milk until well combined and mixture is desired consistency.
Spread or use piping bag to frost cookies. Top with sprinkles immediately. Allow frosting to harden before storing.
Notes
Can be stored at room temperature in an airtight container for one week.You can divide and add food coloring to frosting as desired.
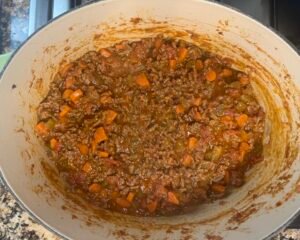
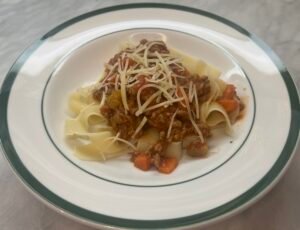
Bolognese is best made when you have time to devote to the kitchen. It require some dedicated hands-on time at the beginning, but once the sauce gets going, it needs much less attention. However, you do need to be around to keep an eye on it. The recipe itself is not difficult, but the flavors develop with each step of the process, so it is important not to rush or skip steps. This is also one of those recipes where I would not alter the ingredients, as each one contributes to the final flavor.
When making Bolognese, follow the steps of as written and allow the milk and then the wine to be fully absorbed or reduced before adding the tomatoes. It is super important to season with salt and pepper along the way. During the long, final simmer, don’t worry if it seems you are adding a lot of water. The water keeps the sauce from drying out during the extended cooking time, allowing the flavors to continue to develop without the sauce becoming too thick.
This is another recipe inspired by our trip to New York City. We didn’t have Bolognese at any particular restaurant, but I was inspired by the meals we enjoyed that showcased simple, quality ingredients transformed into something special through time and care. From bagels at Pop Up Bagels, pastrami at Katz’s, pizza at Grimaldi’s and pork buns at Mei Lai Wah, each meal you could tell was a labor of love. Bolognese captures the same spirit: familiar ingredients, a little patience, and a dish that rewards the time you put into it.
What Makes This Recipe Work
Diced carrots, celery, and onion. This classic combination, known as mirepoix, creates the foundation for the sauce. Cutting the vegetables into evenly sized pieces helps them cook consistently. I prefer a small dice that allows the vegetables to soften and blend into the sauce without disappearing completely.
Add nutmeg with the milk. Do not skip adding nutmeg with the milk. The nutmeg adds a touch of nutty earthiness that compliments the milk and richness of the meat without overpowering the other flavors
White wine you enjoy drinking. The wine adds depth and complexity while balancing the richness of the meat and vegetables. As it reduces, its flavor becomes concentrated and helps build the foundation for the tomatoes that follow.
Quality Italian tomatoes. Tomatoes play a supporting role in this dish rather than serving as the main ingredient, so their quality matters. Quality Italian tomatoes have a good, balanced flavor that compliment the richness of the flavors developed earlier in the cooking process.
Bolognese
A rich, slow-simmered sauce made with simple, quality ingredients that develop into a deeply flavorful, comforting sauce. Perfect for a leisurely Sunday in the kitchen.
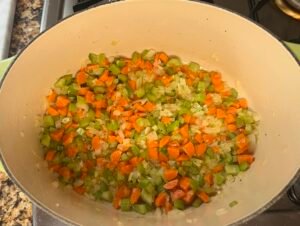
Heat oil and butter in a Dutch oven. Add onion, carrot, and celery. Season with salt and pepper. Stir to coat. Cook until onions are translucent for about 5 minutes.
Add ground beef and season with salt and pepper. Mix into vegetables and cook until beef is mostly cooked, about 3 minutes.
Add whole milk and dash of nutmeg. Stir and simmer until most of liquid has been absorbed for about 10-15 minutes.
Add wine and stir to combine. Cook at a simmer until most of the liquid has been cooked off for about 10-15 minutes
Add tomatoes with sauce and stir to combine. Season with salt and pepper.
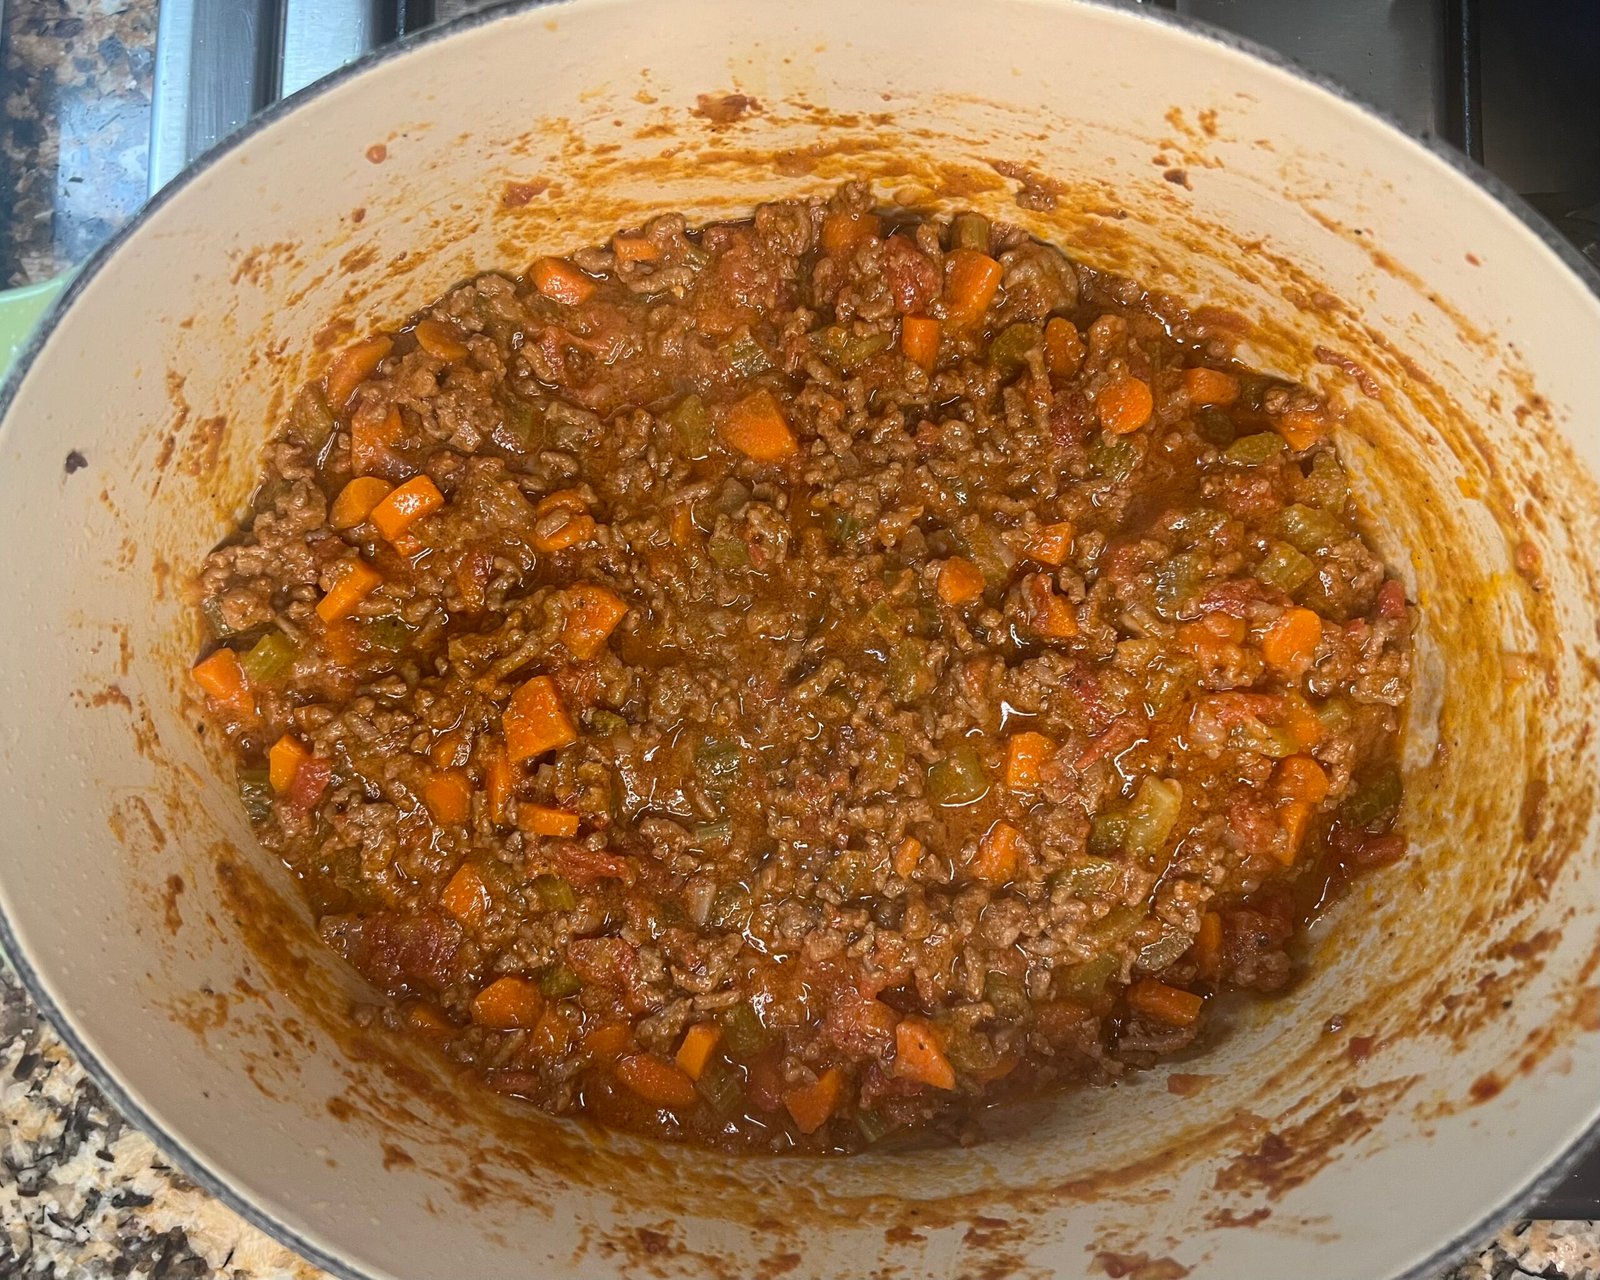
Continue to cook for 2 ½ to 3 hours uncovered at a low simmer. Stir often and add ½ cup as needed when most of the liquid has cooked off. Do not add additional water last 15 minutes of cooking.
During last 30 minutes of cooking. Heat another pot with water and cook pasta according to instructions.
Serve Bolognese on top of pasta and top with small handful of parmesan cheese
Notes
Important to season with salt and pepper along the way. This builds flavor as you go.
This is one of my family’s favorite recipes and has been in our regular rotation for years. It never loses its appeal. It is incredibly easy to make and consistently delicious, making it the perfect meal at the end of a busy day.
While pork shoulder is the ideal cut of meat for making pulled pork regardless of your cooking method, I think it really shines in the slow cooker. In fact, most of my slow cooker recipes feature pork shoulder. My husband often buys a large one, cuts it into different smaller portions of varying sizes, and freezes them. This makes it super easy to add meals involving pork shoulder to our menu rotation without having to go to the store and hope they have a cut in just the right size I need.
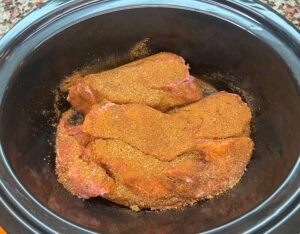
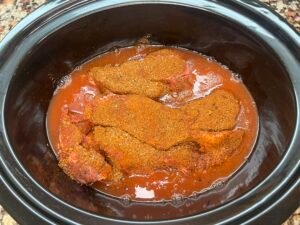
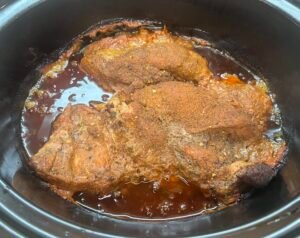
A simple rub of barbecue spices can be prepared first thing in the morning or even a day ahead to save time. I usually make it the night before and store it in a glass container. In the morning, simply place the pork shoulder in your slow cooker and generously coat all sides with the rub. Next, you combine the ingredients for braising liquid and pour it around the pork shoulder rather than directly over it to help keep the rub in place. Cover and let cook while you are at work or out and about.
Once you get home, the pork is ready, and you can quickly prepare the tangy homemade barbecue sauce which only takes a few minutes to cook. Shred the pork, and toss or top with sauce, and dinner is ready!
We typically serve pulled pork as sandwiches, piled generously onto a warmed ciabatta roll with the barbecue sauce and add a slice of smoked Gouda. The cheese’s slightly nutty and creamy flavor complements the pulled pork perfectly, which makes for a delicious sandwich. If you want to keep things on the healthier side, you can skip the bread and serve the pork over roasted or mashed sweet potatoes with or without cheese. It’s delicious. We usually serve it with simple sides to keep things easy such as a simple green salad, steamed green beans, or roasted carrots and sweet potatoes.
What Makes This Recipe Work
Pork shoulder loves slow cookers. As mentioned above, my slow cooker and a pork shoulder are best friends. The slow cooker allows the pork to breakdown while cooking while keeping its integrity and not becoming too dry. The long cooking time also gives the pork plenty of opportunity to develop flavor from the spice rub and braising liquid.
The perfect barbecue spice rub. This rub is the perfect mix of warm and sweet spices that are essential for giving the pork its signature smoky barbecue flavor. It is also versatile enough to use with other pork recipes, especially ribs.
The tangy homemade barbecue sauce. The barbecue sauce is one of the things my family loves most about this recipe. It brings together the signature spices from the rub, chili, smoked paprika, and flavors from the braising liquid to create a tangy, flavorful finish that complements the pork beautifully.
An easy meal with options. The pulled pork is versatile enough to serve in several ways, whether piled high on a ciabatta roll or served over sweet potatoes. It also pairs easily with simple vegetables sides, making it easy to build a satisfying meal with what you have on hand.
Slow Cooker Pulled Pork
Slow Cooker Pulled Pork is tender, flavorful pork seasoned with a smoky spice rub, slow-cooked to perfection, and served with a tangy homemade barbecue sauce. It’s an easy meal perfect for sandwiches.
To make the rub, combine first 8 ingredients (through chipotle chili pepper) in a small bowl.
Place pork shoulder in slow cooker (lightly coated with cooking spray). Spread the rub mixture evenly all over the pork.
Combine ketchup, cider vinegar, and water in a small bowl or glass measuring cup and pour around pork.
Set the slow cooker to low and cook for 8 hours.
Shred pork and serve with sauce.
Barbecue Sauce
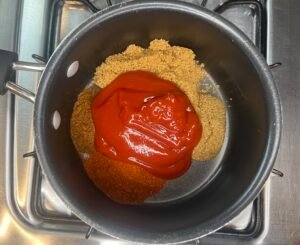
To prepare sauce, combine ingredients in a small saucepan.
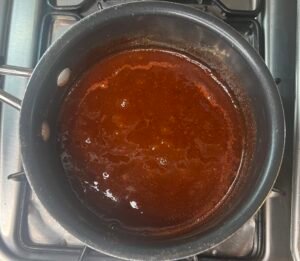
Bring to a low boil and let simmer for 5 minutes.
Notes
The recipe above serves 8-10. However, you can use the same measurements for a pork shoulder up to 5lbs which will result in 16 servings and the same great flavor.
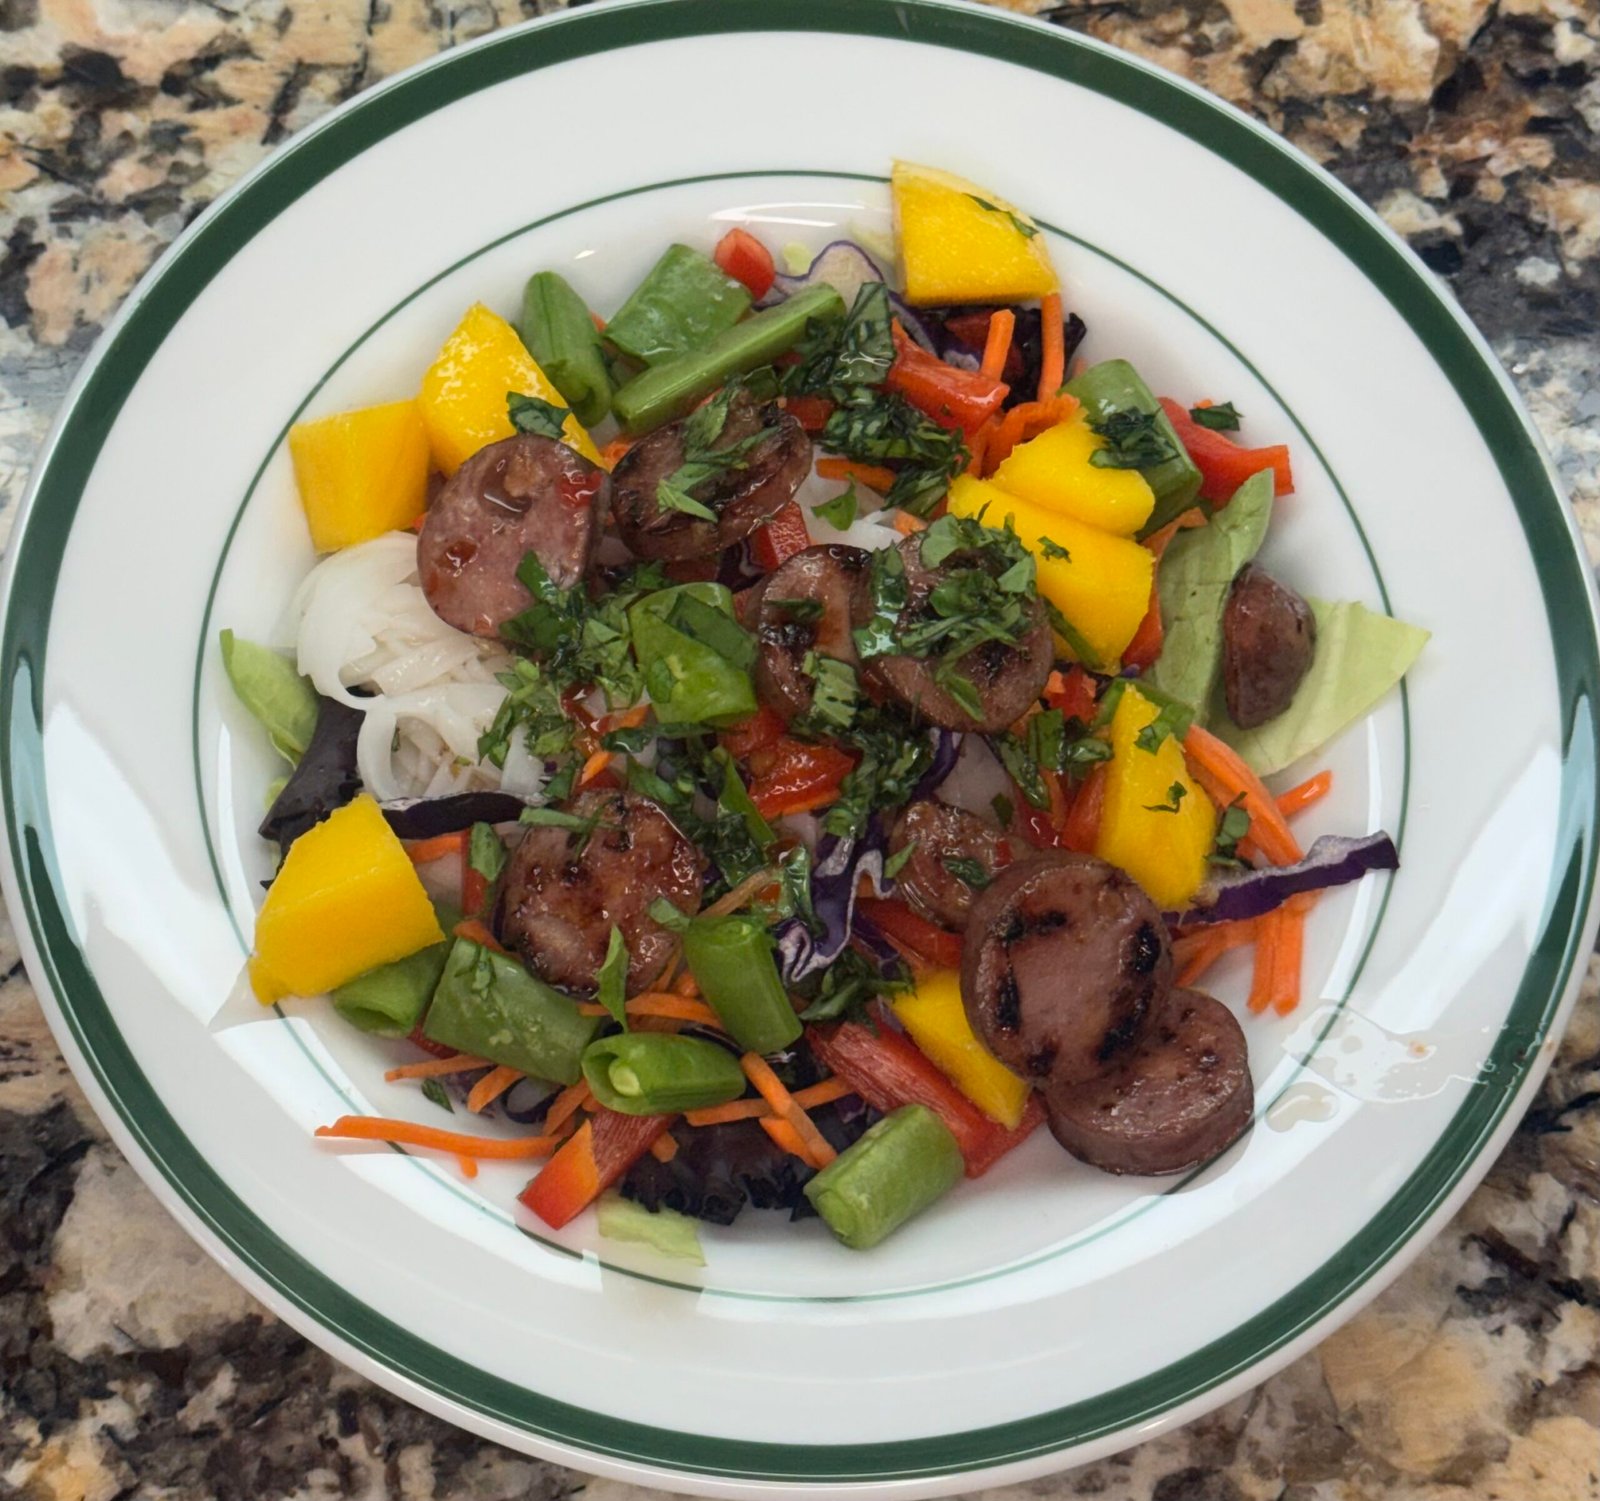
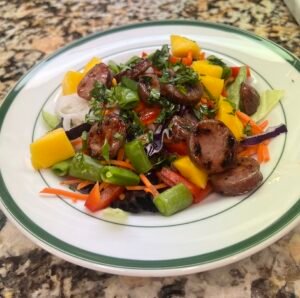
This salad was first recipe I developed completely my own. I remember seeing something in a food magazine that featured a deconstructed dish turned into a salad, and I was inspired. I love spring rolls but making them can be quite time-consuming. I thought this was the perfect candidate to make a deconstructed salad of my own. The result is a salad that is incredibly easy to make on a weeknight but still feels light, refreshing and little bit special.
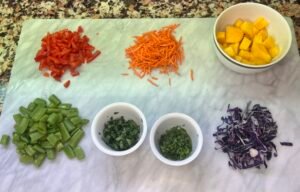
All the colorful fruits and vegetables are truly the highlight of the dish. Not only do they make for a beautiful plate, but they also bring a variety of textures and flavors that keeps every bite interesting. The recipe calls for pineapple chicken sausage, which I find provides just the right amount of savory flavor and umami. However, you can also substitute with grilled shrimp or chicken, if you prefer. One thing I would not skip, though, is the fresh mint and basil. They are key to pulling all the ingredients together and making it really taste like a spring roll in salad form.
The recipe is designed to keep the cooking moving, so you can have everything ready at about the same time. If you need to prep the vegetables, fruit, or herbs, do that while the water heats for the noodles. Once these are prepared, you can add the noodles and start searing the sausage in the skillet. While they are cooking, you can work on making the salad dressing. The sausage and noodles should finish at nearly the same time, leaving you ready to assemble the salads and enjoy a fresh, flavorful meal without a lot of work.
What Makes this Recipe Work
Colorful, fresh produce. The combination of crisp vegetables and sweet, juicy fruit makes this recipe as pretty as it is delicious. The variety of colors, textures, and flavors keeps every bite interesting while giving the dish its light, refreshing character.
Fresh mint and basil. These herbs are essential to capturing the fresh, aromatic flavors of a spring roll. Their bright, slightly earthy notes balance the sweetness of the fresh vegetables and fruit and complement the savory sausage, bringing all the ingredients together.
Noodles and Greens. The balance of noodles and produce is easy to adjust depending on how you want to serve the dish. Keep the butter lettuce and use less noodles for a more a produce heavy salad, or you can eliminate the butter lettuce all together and increase the noodles for a heartier, pasta-salad-style version. The latter is perfect for a picnic or potluck.
Sweet Chili Dressing. The sweet and tangy dressing ties everything together, complementing the fruits and vegetables while balances the savory protein and fresh herbs. It brings the flavors into harmony and gives the salad that familiar sweet-and-tangy finish that is reminiscent of a spring roll.
Spring Roll Salad
A fresh, vibrant spring roll salad with colorful fruits and vegetables, tender noodles, savory pineapple chicken sausage, fresh mint and basil, and a sweet chili dressing. It’s an easy weeknight meal that delivers all the refreshing flavors of spring rolls without the time-consuming assembly.
12ozpackage pineapple chicken sausagescut into bite size pieces
2Tbsprice vinegar
2Tbspsweet chili sauce
1tsphoney
1lime juice
Method
Cook rice noodles according to directions and set aside.
Prepare any vegetables or fruit.
Heat a nonstick skillet over medium high heat. Add sausage and cook until golden on each side, about 5 minutes.
Prepare dressing by combining rice vinegar, sweet chili sauce, honey, and lime juice in small bowl. Whisk to incorporate ingredients.
Assemble salads by placing butter lettuce in shallow serving dish, top with cooked rice noodles, top with chopped vegetables and mango. Drizzle 2 teaspoons of dressing and top with slices of chicken sausage and sprinkle with fresh basil and mint.
Notes
Quantity of rice noodles can vary as desired. It can be a heavy noodle salad or you can use only about half of the noodles and make it more of lettuce-based salad. It all depends on your preference.
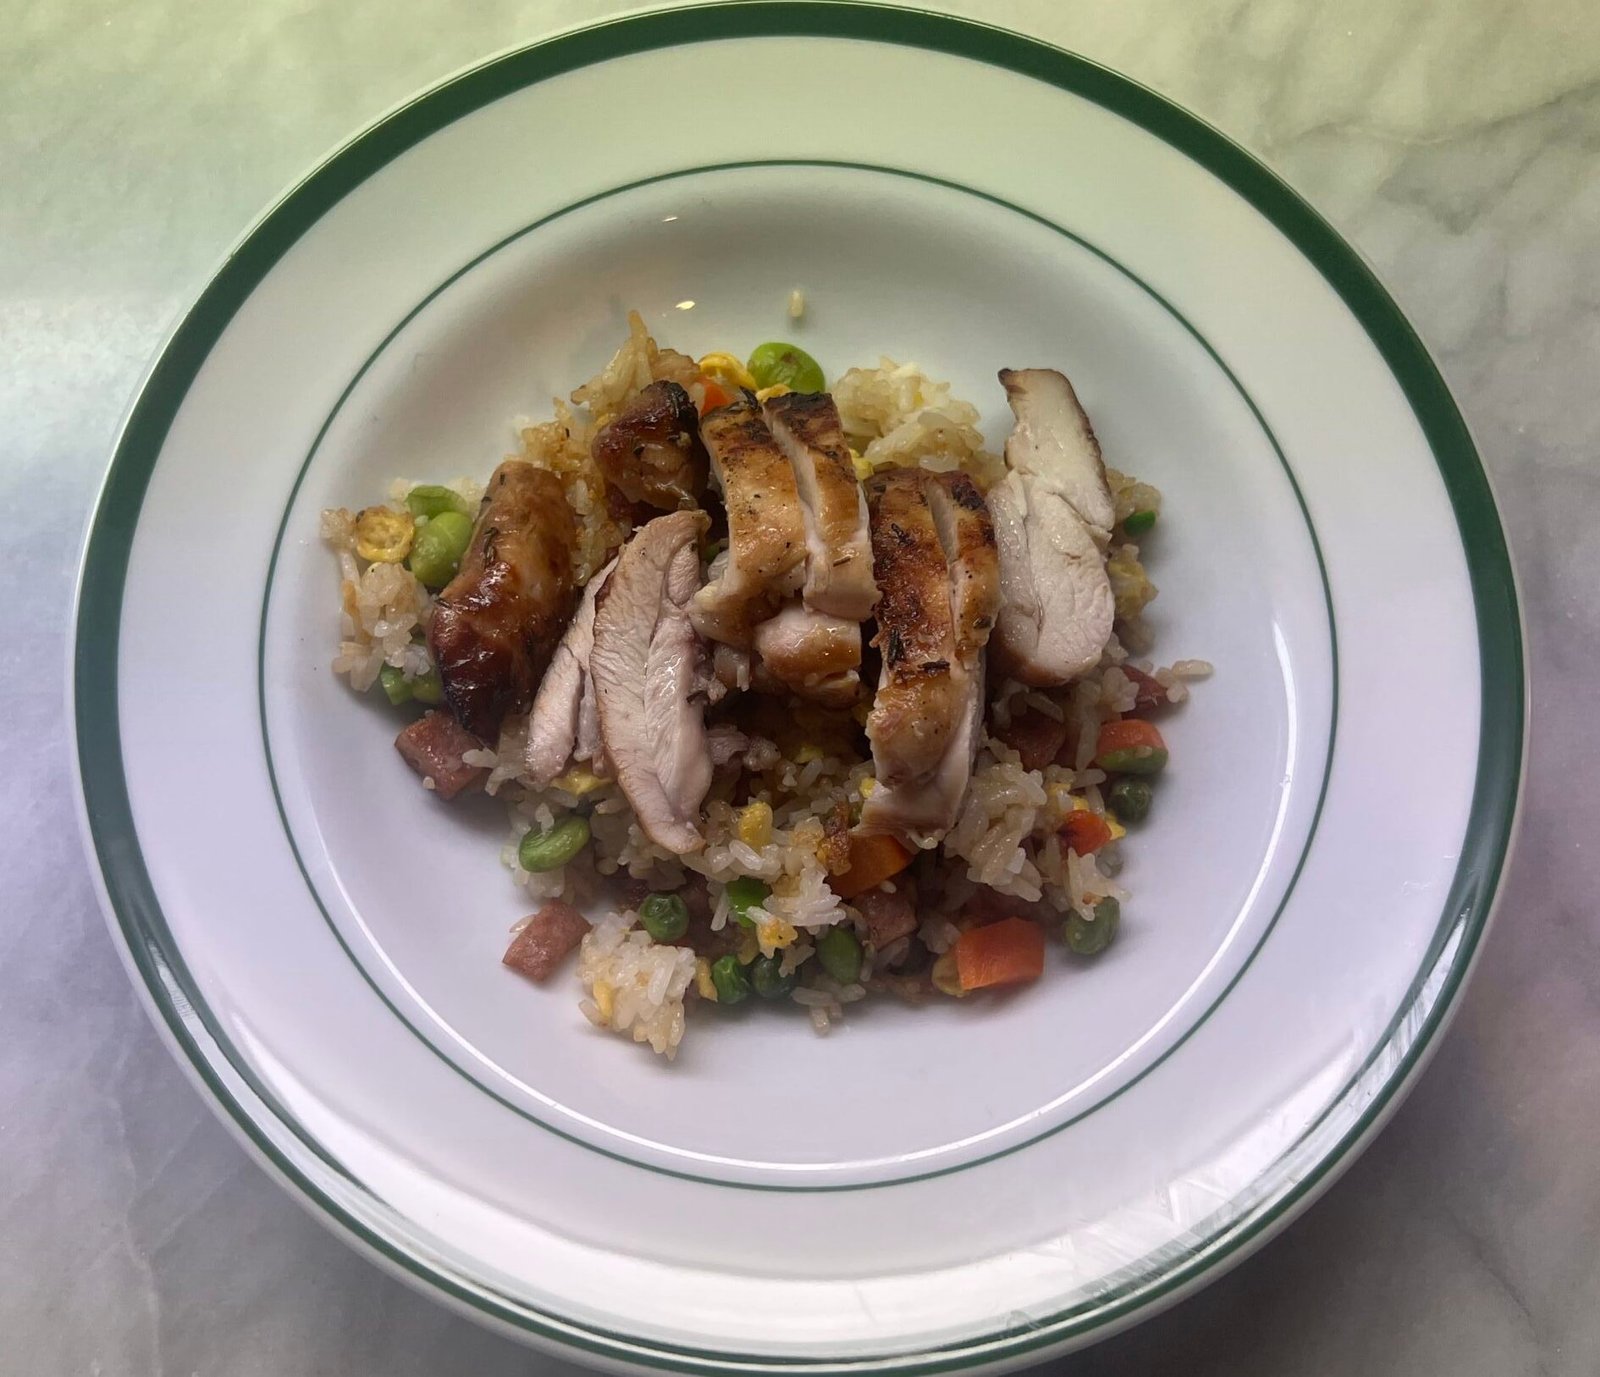
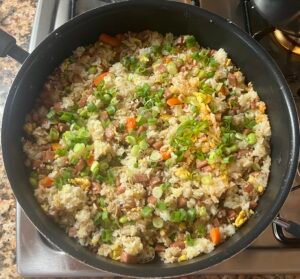
This recipe is staple in our household, and the two components don’t necessarily have to be made together. The chicken can be served with sautéed or steamed carrots and broccoli alongside regular steamed white rice. The fried rice can also be served alongside other Asian dishes or topped with a fried egg to make it a meal on its own.
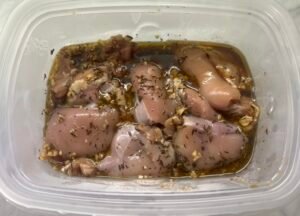
The marinade for the chicken is simple but delivers a great flavor. Perfect for busy weeknight meal. I usually marinate the chicken the night before, or first thing in the morning. Since the chicken only requires grilling, it is easy to cook alongside the fried rice. With a little coordination, you can easily alternate between the two and get dinner on the table efficiently.
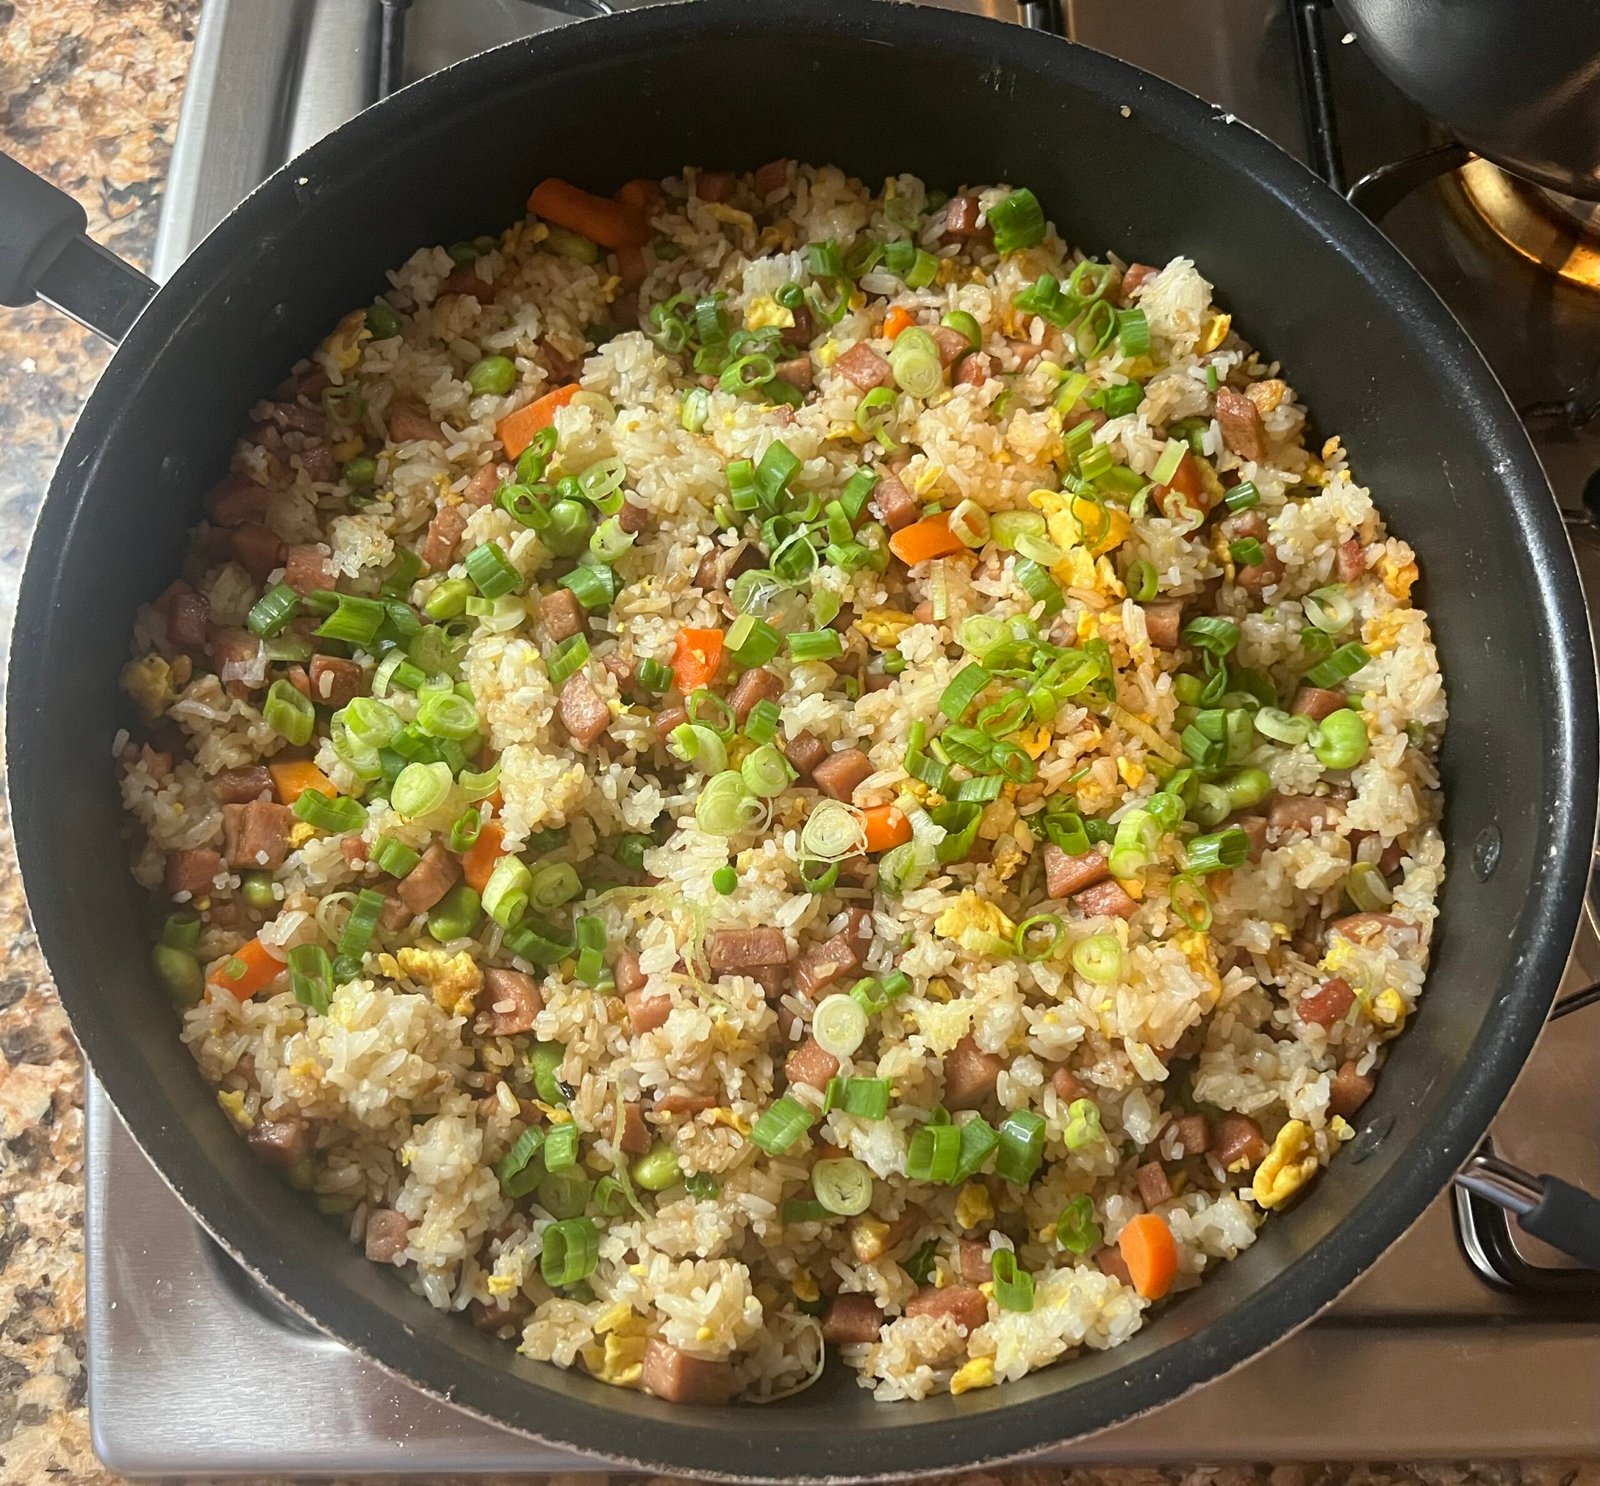
When I make both together, I start with making the fried rice. Once the rice has been added to the pan and incorporated, I step away to heat up and prepare the grill. While the grill is heating, I continue stirring and toasting the rice, giving it time to develop some crispy bits. Right when the rice is ready for the eggs, I add the chicken to the grill and then return to the fried rice to scramble the eggs and mix into the rice. By the time the eggs are incorporated, the chicken is usually ready to turn. I flip the chicken and return to the rice to add the vegetables. Once the vegetables are heated through, the chicken should be finished as well. I take it off the grill and cover. Letting it rest while I finish up the fried rice.
Fried rice is best when the steamed rice is made ahead and chilled. I am no stranger to forgetting to do this on the days I plan to make fried rice for dinner. If this happens, you can still use freshly made rice. However, I strongly recommend following my steps for steamed rice (see recipe notes below). It results in less sticky rice which is essential when using without chilling it first.
What Makes This Recipe Work
Easy and flavorful marinade. The simple marinade of soy sauce, garlic, and thyme are easy to combine in flash and adds plenty of flavor to the chicken thighs. Marinading the chicken overnight or throughout the day ensures that it will be flavorful and juicy once grilled.
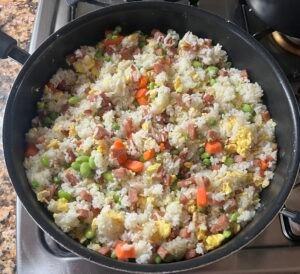
Don’t be shy with vegetables in the fried rice. The recipe calls for a cup each of frozen carrots and peas and frozen shelled edamame. This can be easily adjusted to your preference. Use a half cup of each, double one and go without the other, or add other vegetables that you prefer or have on hand. Adding frozen vegetables makes it easy to add extra nutrition without adding much prep time.
The rice can be toasted on your schedule. The recipe calls for toasting or frying the rice for about 5 minutes, but this step is flexible. Let it go longer want crispier rice, or use this step to slow things down while you finish another part of the meal. If I am making this alongside something else, this is where I can slow things down or speed things up as needed.
Scalable. Both components can be easily scaled up, whether you are making a family dinner with leftovers or feeding a crowd. And both are simple enough that you won’t feel like you are spending forever in the kitchen to do so.
Soy Marinated Chicken and Spam Fried Rice
A flexible, family-friendly meal featuring flavorful grilled chicken and vegetable-packed fried rice. The two components can be served together or separately, making it an easy and versatile option for busy weeknights.
6-8boneless skinless chicken thighsabout 1 ½ pounds
Fried Rice
1Tbspcanola oil
1canreduced sodium spamdiced
4cupscooked white rice(2 cups uncooked rice)
3garlic clovesminced
3eggsbeaten
1cupfrozen carrots and peas
1cupfrozen shelled edamame
1tsptoasted sesame oil
2 to 3Tbspsoy sauce
3green onionsminced
Method
Chicken
Whisk to combine olive oil, soy sauce, garlic, and dried thyme.
Add chicken to a container or plastic bag and add marinate. Ensure that all chicken is thoroughly coated. Marinate in refrigerator for at least 4 hours and up to 24 hours. If marinating for longer period be sure to rotate chicken in marinade periodically.
Prepare grill and heat to medium high.
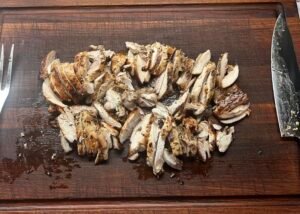
Oil grates and place chicken on grill. Cook 3-5 minutes per side until done.
Take chicken off grill and cover. Let rest for 3 minutes.
Fried Rice
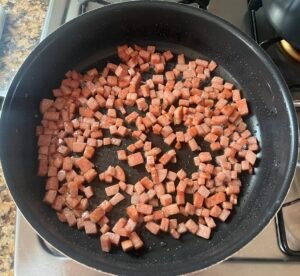
Heat oil in large, nonstick frying pan over medium high heat. When oil is hot, add spam and cook until browned for about 5 minutes.
Add garlic and cook until fragrant (10-20 seconds) and add cooked rice. Mix in and stir rice, breaking up any large clumps, cook until toasted for around 5 minutes.
Make a well in the center of rice in frying pan, and add eggs. Slowly stir eggs as they cook until they are mostly scrambled for about 2 minutes. Mix eggs into the rest of the rice.
Add frozen vegetables and mix into rice. Cook until thoroughly heated for about 3-5 minutes. Stirring regularly.
Add sesame oil and soy sauce, starting with 2 Tbsp of soy sauce and adding more if needed. Top rice with green onions.
Notes
For good, steamed rice, it is best to rinse your rice in a fine mesh strainer until the liquid runs clear. Then add to a saucepan and jostle the pan until the rice is an even layer. Top with water until it covers just the top of your index finger when inserted. Place on stove and heat over medium until the water starts to boil. Cover pot and adjust to very low heat. Let simmer untouched until all liquid is absorbed. Fluff rice with fork.Recommend seasoning the eggs lightly with salt and pepper when beating. This makes for a better tasting bit of egg in the fried rice.If you want to add some heat, recommend splitting toasted sesame oil with hot toasted sesame oil (1/2 tsp each).
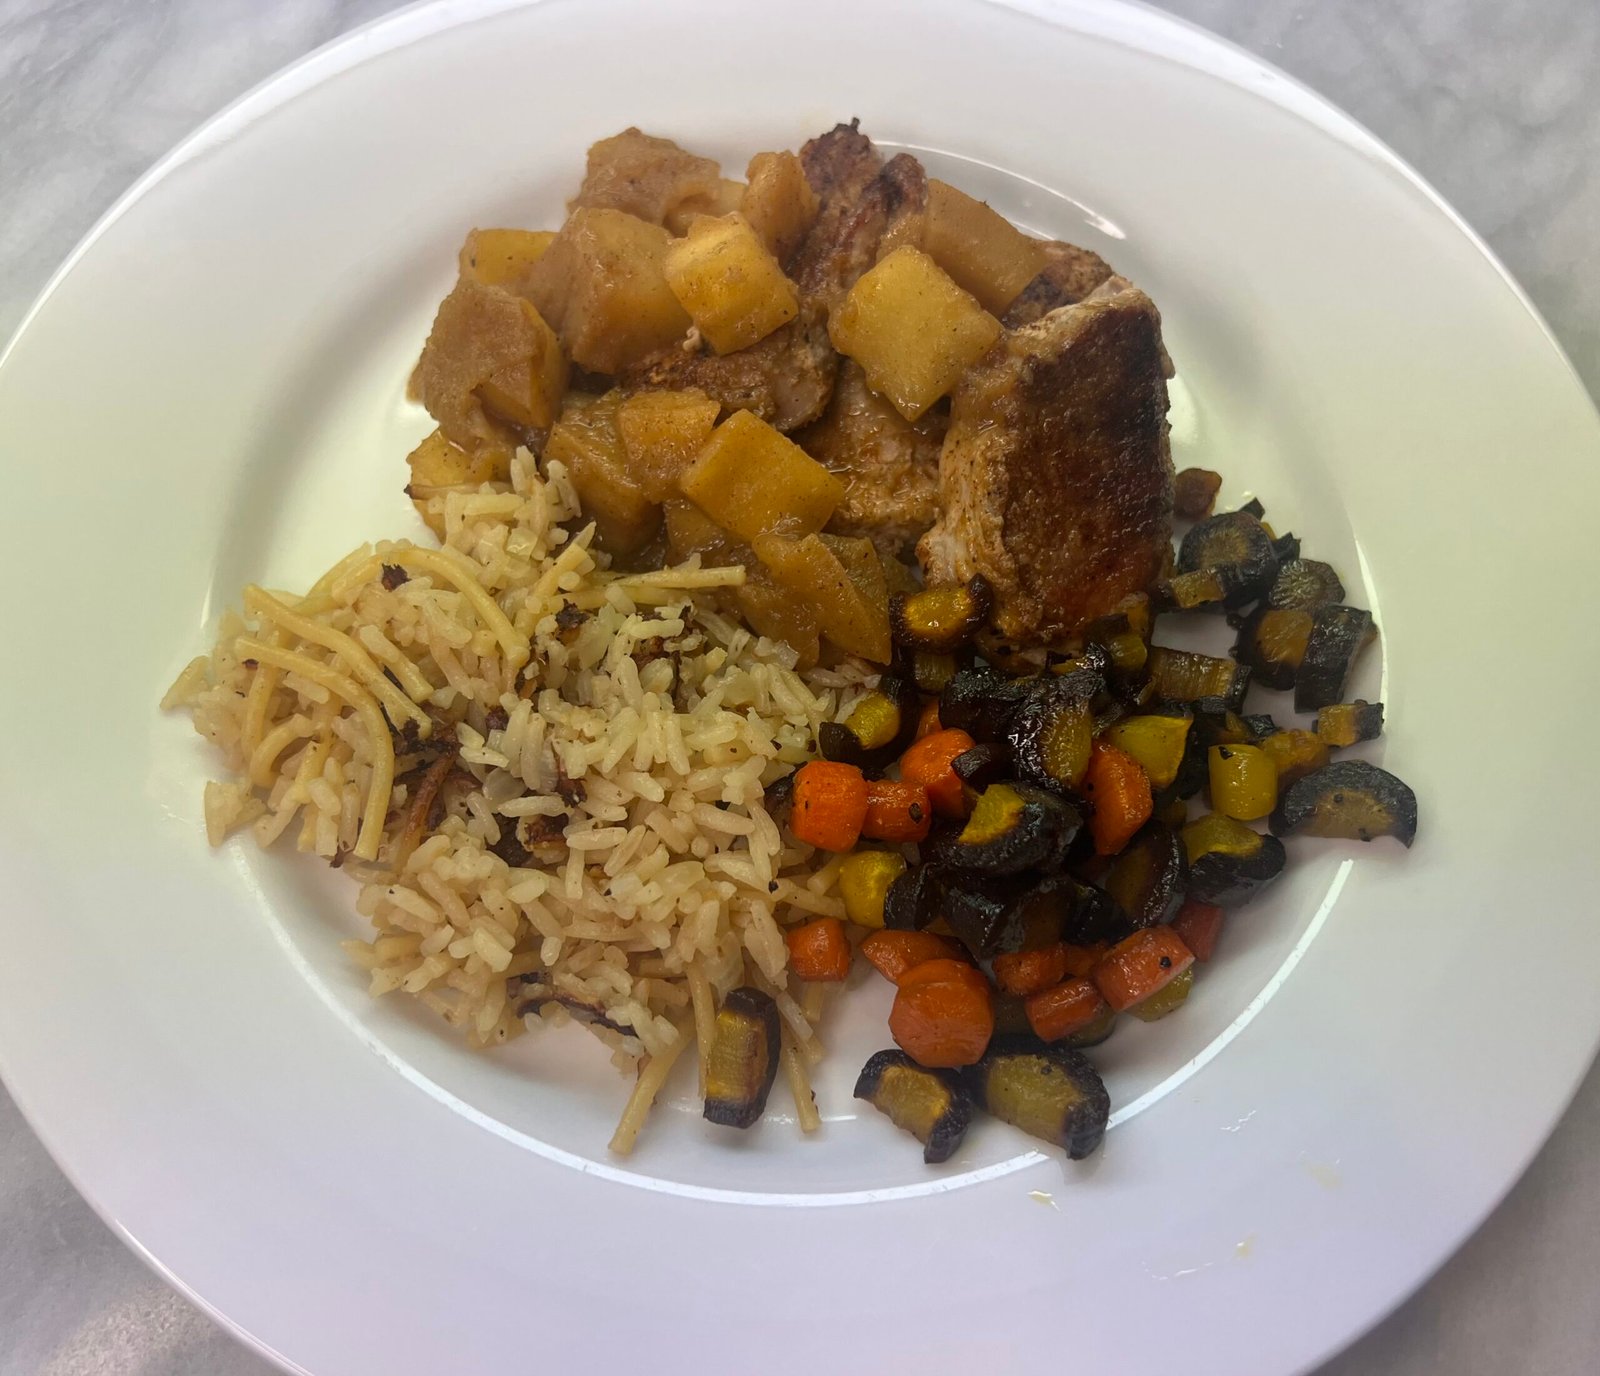
Pork and apples is a seasonal dinner dish that my kids ask for once Fall is in full swing. They love the apple compote and the tender pieces of pork tenderloin. It really captures what I look for in a Fall dinner – warm, comforting flavors.
This recipe is incredibly simple but tastes like it took way more time than it actually does. After being cut into medallions, the pork tenderloin gets a quick, generous seasoning before being quickly cooked in a skillet. Peeling and cutting the apples is likely the most time-consuming part of the preparation for this dish, and even that takes little time. The apple compote comes together quickly with just a few simple ingredients, bringing the entire dish together in flash. Best of all, everything is essentially made in one pan which means less clean up.
This dish pairs well with simple rice pilaf and vegetable side. I usually serve it alongside either roasted carrots or sautéed green beans. Since the pork and apples cook quickly and require a bit of attention, I typically choose sides that don’t require much hands-on preparation.
What Makes This Recipe Work
Pork tenderloin cut into medallions. A pork tenderloin is the perfect protein for this dish. Tenderloin is a mild, lean cut of pork that easily absorbs seasonings. Cutting it into medallions allows it to cook quickly while keeping the meat tender and moist.
A mix of green and red apples. The dish benefits from the tartness of green apples balanced by the sweetness of red apples. Additionally, using two varieties also creates a more interesting texture in the finished compote, as the red apples will typically soften and break down more quickly than the green apples.
Complementary seasoning for both the pork and apples. This recipe combines savory and warm spices that complement each other throughout the dish. Paprika and cumin add a depth to the pork, while cinnamon brings warmth to the sweet apple compote. Together, they create a balance of savory, sweet, and warm flavors that makes this dish feel distinctly Fall.
Pork and Apples
Pork and Apples is a simple Fall dinner featuring seasoned pork tenderloin medallions topped with a warm, sweet-tart apple compote. It’s a comforting, flavorful meal that comes together quickly in one pan.
Prepare the pork tenderloin by trimming and cutting into 12 slices crosswise creating medallions. Lay pork pieces flat and season evenly with salt, pepper, cumin, paprika, granulated garlic and onion on both sides.
Heat a large skillet with 1 tablespoon olive oil over medium-high heat. Add pork and cook on both sides for about 2-3 minutes or until cooked. Remove from pan and cover.
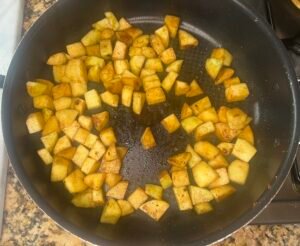
Add ½ tsp of olive oil (do not clean out pan) and heat. Add apples and stir to loose brown pieces. Added ½ cup water, brown sugar, and cinnamon and stir to coat apples. Cover pan and cook apples for 5 minutes or until soften.
Add butter and cook for 1 minute or until apples have more of saucy consistency.
Server 2-3 pork medallions with generous amount of saucy apples.
Notes
For the apples, I recommend using Granny Smith for the green apples and either a Gala or Honeycrisp for the red apples. These cook wonderfully together.For a complete dinner, I recommend serving the dish with rice pilaf and roasted vegetables.