Category: From-Scratch Recipes

Scratch-made, restaurant quality, family friendly recipes

  • Brussel Sprout Pasta

    Brussel Sprout Pasta

    Brussel sprout pasta is the perfect weeknight dinner when you want something quick and easy. It is a comforting pasta that combines tender, caramelized Brussel sprouts with savory pancetta and a hint of lemon for a satisfying dinner that still feels fresh.

    Brussel sprouts is one of my favorite vegetables, so it is no surprise that this is one of my favorite pasta recipes. It is a pasta dish that doesn’t feel heavy, and that I can change it to be more Brussel sprout forward by reducing the amount of pasta if desired.  

    The most time-consuming portion of this recipe is any preparation you may need to do for the Brussel sprouts. While many grocery stores carry pre-shredded Brussel sprouts, if you need to prepare them yourself, you will can still quickly get this dish on the table. I often clean, trim, and shred the Brussel sprouts while the pasta water heats. The timing usually works out so that I can start cooking the pancetta at the same time I add the pasta to the water, allowing the Brussel sprouts and pasta to finish at nearly the same time.

    What Makes This Recipe Work

    • Start with pancetta. The pancetta adds a savory bite that perfectly complements the earthiness of the Brussel sprouts. This is a very veggie forward dish; it adds heartiness without making the pasta overly heavy.
    • Sauté the Brussel sprouts. Letting the sprouts slowly cook in the rendered pancetta fat allows them to become tender and caramelized, bringing out their wonderful flavor and depth.  
    • Season with salt and pepper wisely. Season the Brussel sprouts when adding them to the skillet but be mindful that pancetta and parmesan cheese will add an additional salt to the finished dish. When completing the dish, taste it and only add additional salt and pepper if it is needed.
    • Finish with fresh lemon. Adding both the zest and juice of a lemon to the Brussel sprouts after they finish cooking gives the dish a fresh, bright flavor that helps balance the richness of the pancetta and parmesan.

    Brussel Sprout Pasta

    A quick and easy weeknight pasta that combines tender, caramelized Brussels sprouts with savory pancetta and a hint of lemon for a satisfying dinner that still feels fresh.
    Total Time 30 minutes
    Servings: 8
    Course: Main Course
    Cuisine: Italian

    Ingredients
      

    • 1 lb penne pasta
    • 1 Tbsp olive oil
    • 4 oz pancetta diced
    • 2 lbs brussel sprouts peeled, trimmed, and shredded
    • 1 Lemon
    • 1 Tbsp unsalted butter
    • Salt
    • Pepper
    • Grated parmesan cheese optional

    Method
     

    1. Cook pasta according to directions and set aside.
    2. Heat large sauté pan over medium heat with olive oil. Add pancetta and cook until lightly brown, stirring often, about 3 minutes.
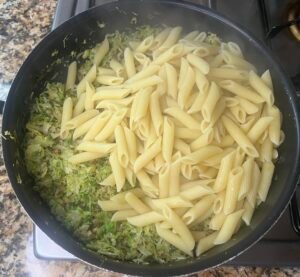
    3. Add shredded Brussel sprouts and season with salt and pepper. Cook on medium-high heat while stirring frequently until Brussel sprouts are tender and slightly browned, about 5-7 minutes.
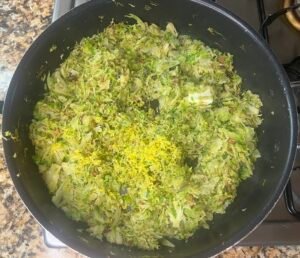
    4. Zest lemon and add to Brussel sprouts and then add juice of half of lemon. Add one Tbsp of butter and mix into Brussel sprouts. Season with salt and pepper as needed. Add pasta and mix into Brussel sprouts.
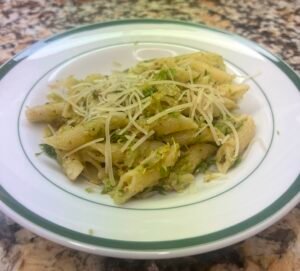
    5. Serve with small handful of grated parmesan cheese.
    Notes

    Make sure to taste the Brussel sprouts before adding more salt and pepper at the end. Depending on your pancetta, the mixture can already be plenty salty and may not need much additional seasoning.
    Adjust quantity of pasta as desired to change the ratio of pasta to sauteed Brussel sprouts.
  • French Onion Chicken

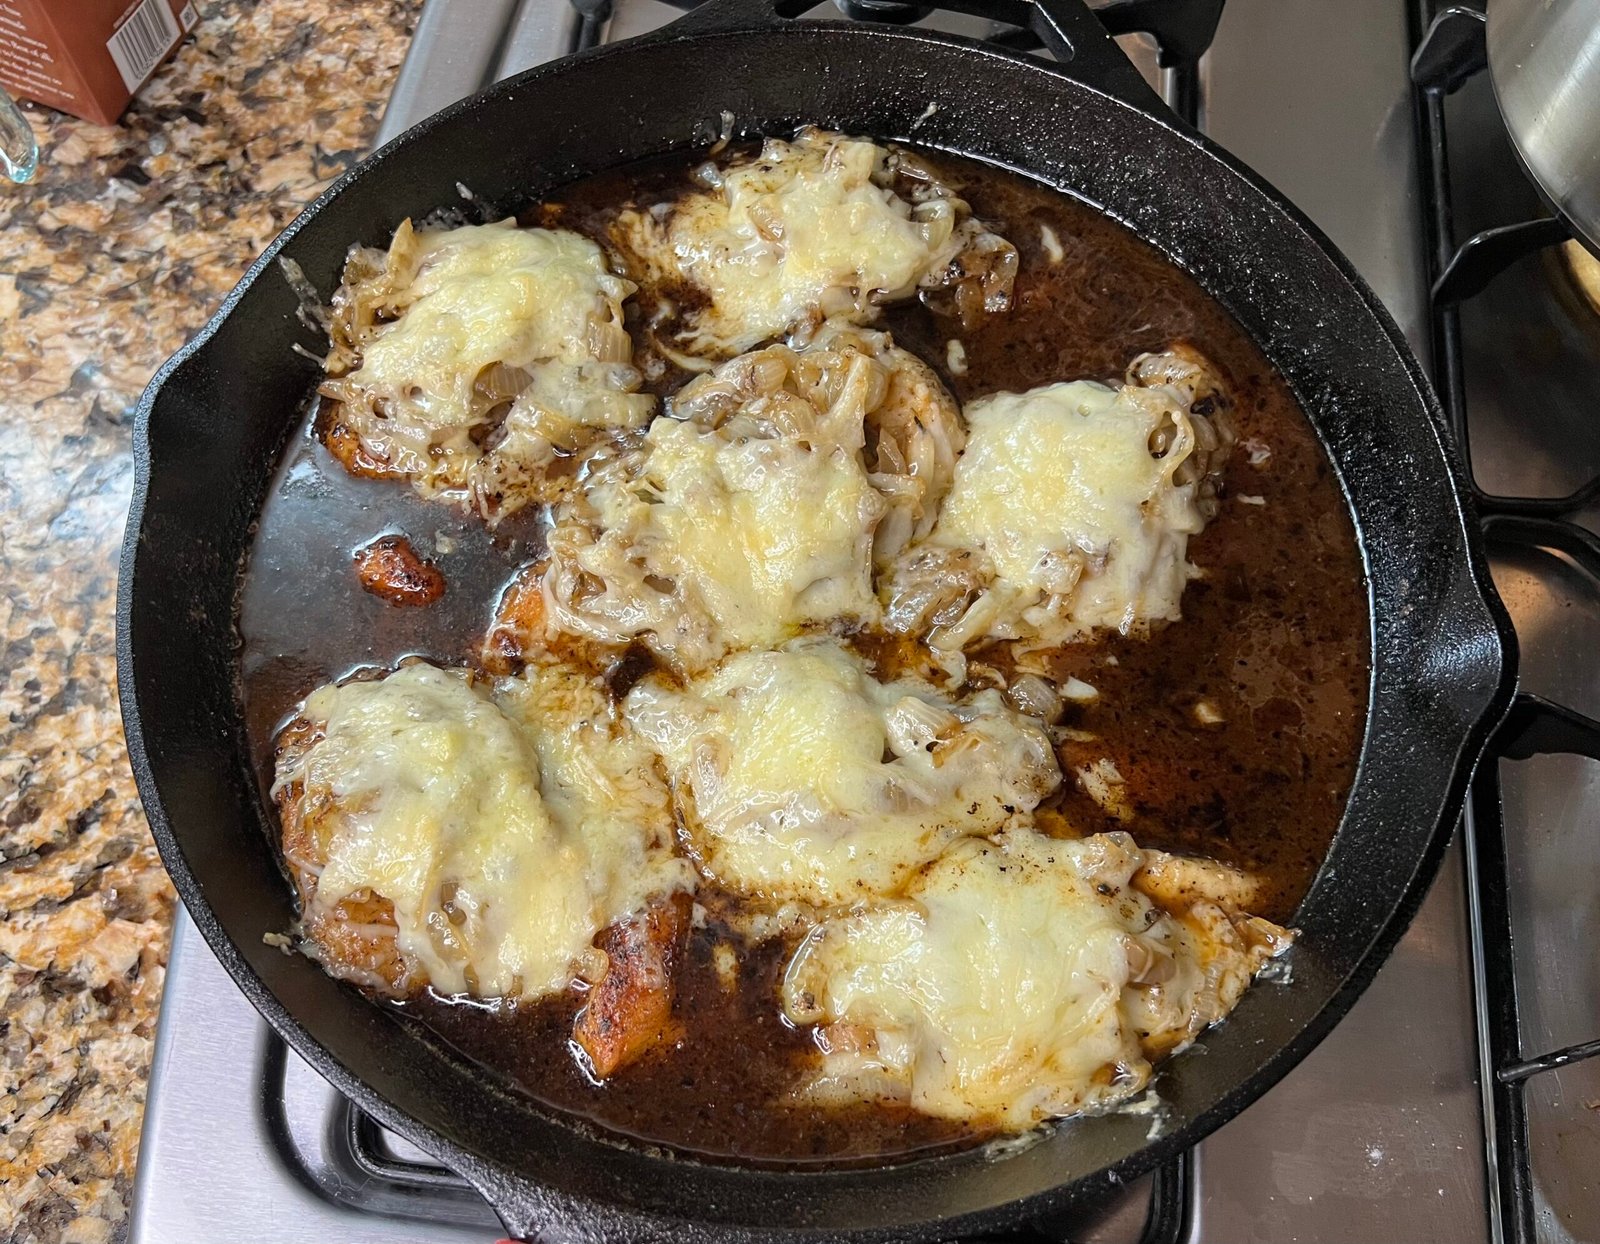
    French Onion Chicken

    Adapted from Skillet French Onion Chicken from Food & Wine

    French Onion Chicken is ideal for a Sunday evening when I have a little more time to spend in the kitchen. It is not particularly complicated, but the onions need time to slowly cook and develop their deep, sweet flavor, so this is more of a weekend dinner than a rushed weeknight meal. The extra time is worth it. The onions are what give this dish its rich French onion flavor.

    The inspiration for this dish came from a trip to New York City. We don’t have many French restaurants where we live, so when considering dinner options, it made sense to take advantage of the many French restaurants the city has to offer. My son and husband decided to order a side of French onion soup as an appetizer with their dinner and absolutely loved it.

    French onion soup was a favorite of my father’s, so I was familiar with the soup, but our family is not always the biggest fans of onion flavor. In fact, I usually reduce the amount called for in many recipes. Because of that, I had never considered making it or anything closely related to it at home. However, seeing home much my son and husband enjoyed it, I was inspired to make something that captured the same flavors in the same way my family would enjoy.

    I started with the Skillet French Onion Chicken recipe from Food & Wine and adapted it to better suit my family. I slightly changed the seasoning for the chicken, increased the among of chicken to make the recipe more generous in servings, and reduced the amount of onion while keeping the rich, savory sauce nearly the same. The result is a comforting, hearty chicken dinner that takes a little patience but doesn’t require a lot of complicated work. And the fact that it is made all in one-skillet, the cleanup is a bonus.

    What Makes This Recipe Work

    • Cast iron skillet is key. It maintains an even temperate while the onions slowly cook, holds heat well for perfectly searing the chicken, and goes straight from the stovetop to the broiler for the final cheesy finish. Best of all, this all happens in the same skillet.
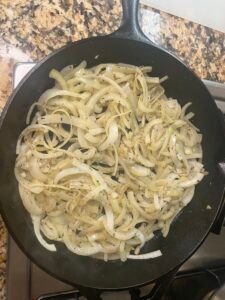
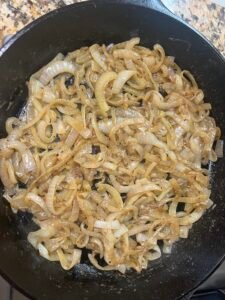
    • Don’t rush the onions. This is a critical step of the recipe and one where patience really pays off. The onions need time to slowly soften and caramelize, allowing their natural sweetness and flavor to develop. It can be tempting to turn up the heat and rush this process, but this will result in a notable difference.
    • Seasoned and skillet cooked chicken. Making sure to generously season the chicken with onion and garlic enhances the flavor of the dish. Coating the chicken in flour before cooking helps creata a golden sear on the exterior, giving the chicken slightly crispy outside but keeping the inside flavorful and moist.
    • Finish with Gruyere and Parmesan Cheese. The chicken is topped with the slow cooked onions and combination of cheese and finished under the broiler. The result is a golden, bubbly cheese finish that fully embodies the essence of French onion soup.

    French Onion Chicken

    Delicious chicken breasts smothered in caramelized onions and cheese with a rich, savory sauce. Perfect for a comforting Sunday dinner that the whole family will enjoy.
    Prep Time 10 minutes
    Cook Time 1 hour 20 minutes
    Total Time 1 hour 30 minutes
    Servings: 8
    Course: Main Course
    Cuisine: French

    Ingredients
      

    • 4 tbsp unsalted butter divided
    • 2 medium to large onions sliced
    • 1 tsp dried thyme
    • 1 tsp black pepper divided
    • 1 ¾ cups low sodium beef broth divided
    • 1 tsp granulated sugar
    • 4 skinless, boneless chicken breasts halved
    • ½ cup all-purpose flour
    • 2 tsp granulated onion
    • 2 tsp granulated garlic
    • 1 tsp salt
    • 2 Tbsp olive oil
    • ¼ cup white wine
    • 1 Tbsp beef bouillon paste
    • 4 oz Gruyere cheese shredded
    • 2 oz Parmesan cheese shredded

    Equipment

    • Cast Iron Skillet

    Method
     

    1. Heat a large cast-iron skillet, over medium heat and melt 2 Tbsp of butter. Add onions and season with dried thyme and ¼ tsp pepper. Cook onions until translucent, stirring occasionally, for about 3-5 minutes.
    2. Stir in ½ cup of broth and bring to boil. Reduced heat so onions are just simmering. Cover and cook until onions are soft being sure to stir often, for about 15 minutes.
    3. Sprinkle sugar over onions and continue cooking uncovered until onions brown on edges, about 4 minutes. Transfer onions to a bowl. Rinse and wipe down skillet.
    4. Place flour in a shallow bowl. Season chicken generously on both sides with granulated onion, granulated garlic, salt, and remaining pepper.
    5. Heat 1 Tbsp olive oil and 1 Tbsp butter in skillet over medium. Using half of the chicken breasts, dredge each chicken breast in flour and add to skillet. Cook until golden brown on each side and thoroughly cooked, about 3-4 minutes per side. Place cooked chicken on plate and cover. Repeat with remaining half of chicken.
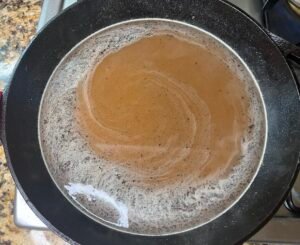
    6. Preheat oven to broil. Add wine to skillet and loosen up browned bits. Simmer until slightly, reduced. Add remaining beef broth and bouillon, whisking to combine. Cook sauce while continuing to stir until sauce has slightly thickened, about 3 minutes.
    7. Add cooked chicken cutlets back to pan (leave out extras if there isn’t enough room for all breasts and prepare these as separate batch). Evenly top each chicken breast with cooked onions, Gruyere and parmesan cheese. Place in over and broil until cheese is melted, about 3 minutes.

    Notes

    The recipe above makes a conservative amount of sauce. However, if you like a lot of sauce, you can always double the amount of wine, beef broth, and bouillon for this portion of the recipe. However, it may take slightly longer to thicken to a sauce like consistency and nearly cover your chicken breasts.
    For a complete dinner, recommend serving it with mashed potatoes or crusty bread along with a vibrant vegetable.
    1
  • The Only Banana Recipe You Need

    The Only Banana Recipe You Need

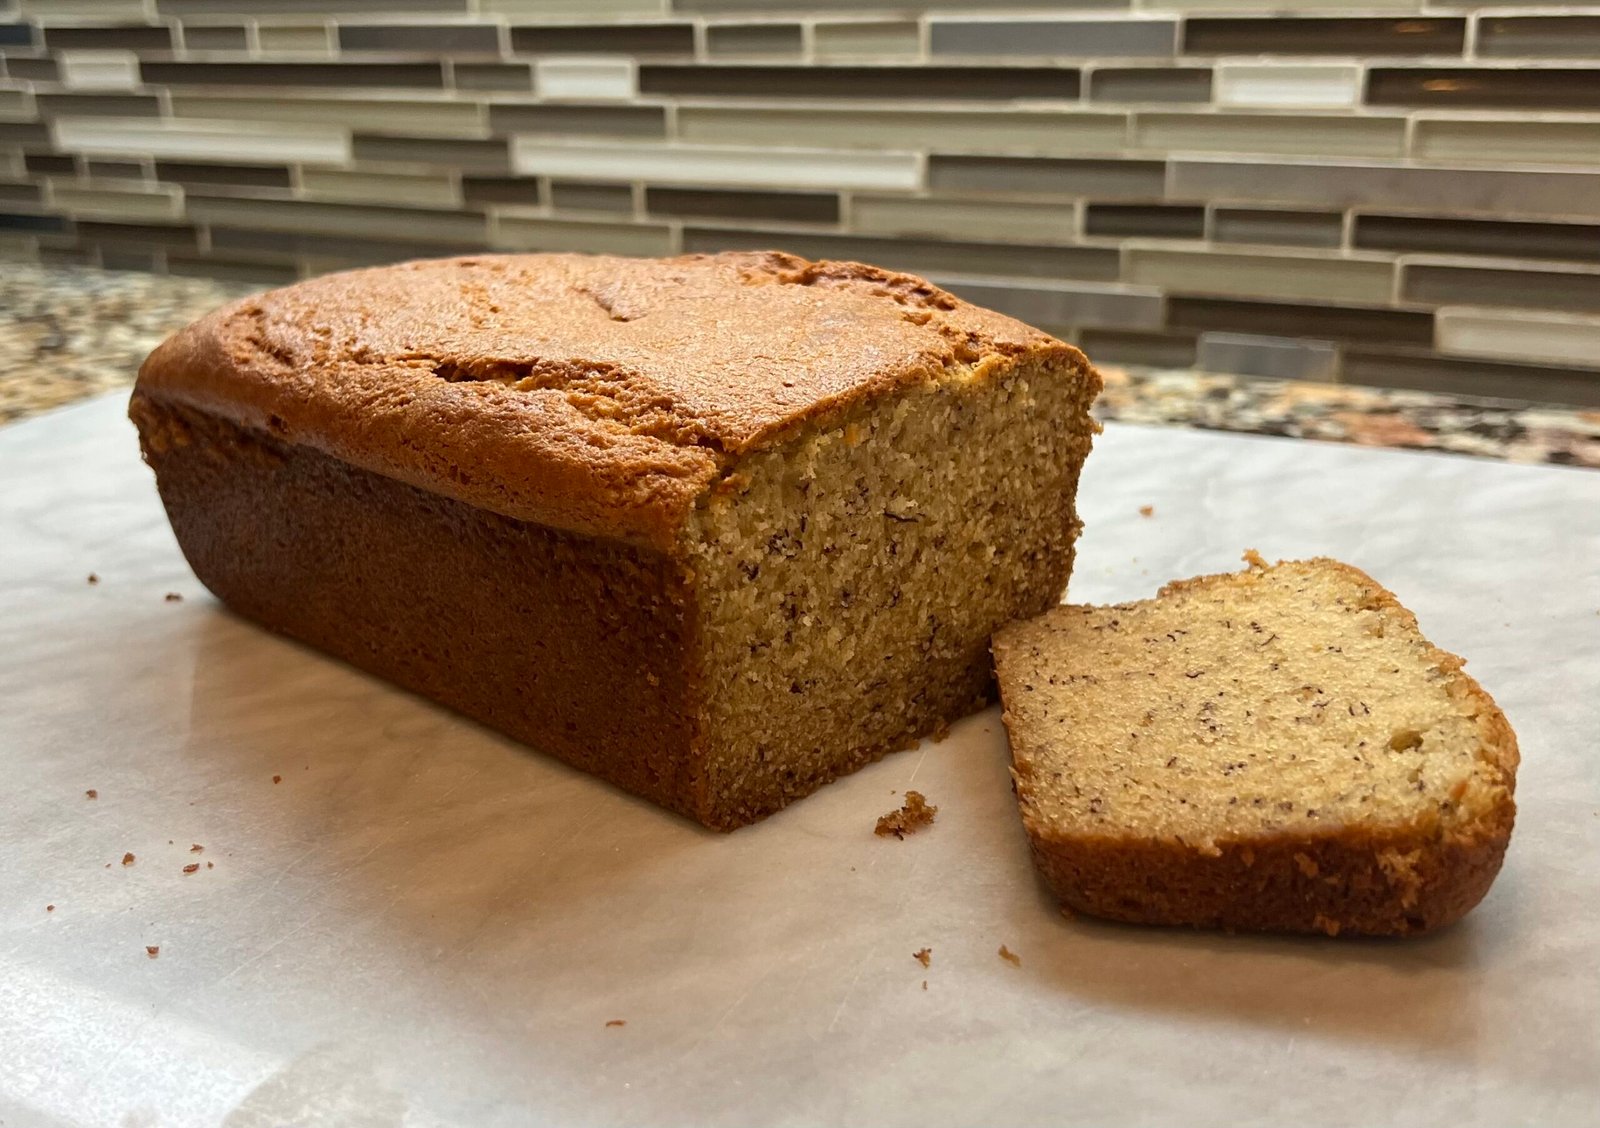
    This banana bread is a staple in our family routine. It is the perfect Saturday baking project that delivers a rich, moist texture and deep banana flavor, yet requires simple pantry staples and zero complicated equipment. It is the perfect weekend bake to slice up for easy, grab-and-go family breakfasts throughout a busy week.

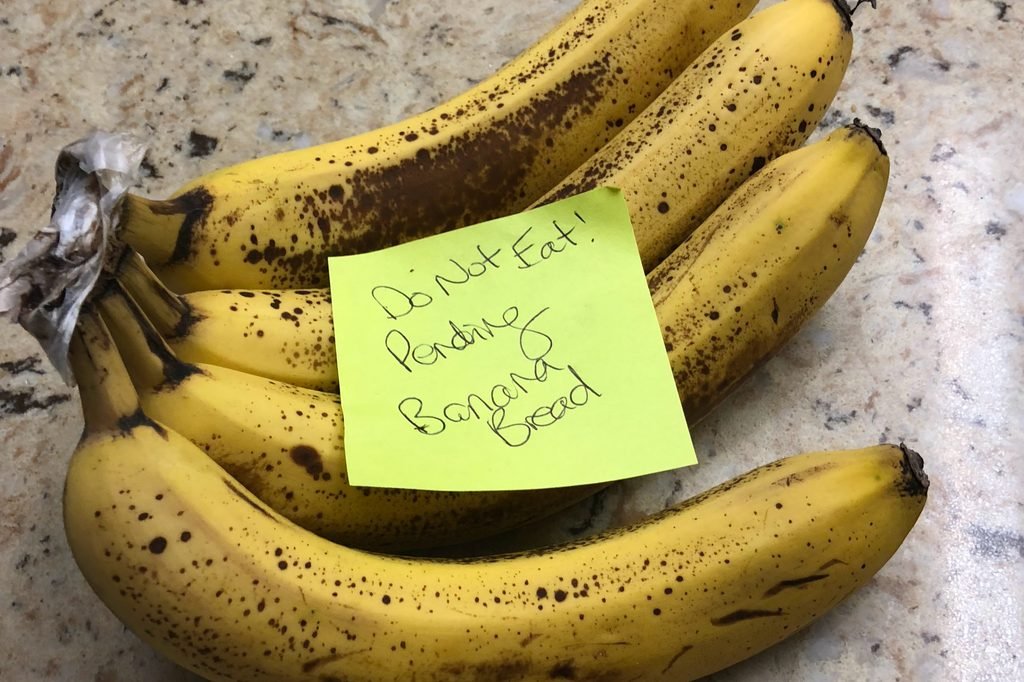
    There is a conspiracy in my house, and it involves bananas—or, more specifically, the lack of them. Bananas are always readily available. My athletic kids love them as snacks or as the base for smoothies, so I buy a decent-sized bunch every week. But once the number dwindles down, they suddenly are no longer consumed. The family is saving the rest for banana bread.

    This recipe was the first thing I ever baked, and after years of making it, it has become one of those recipes that friends, family, and co-workers know and request. It has even won an office banana bread bake-off. So, it only seems fitting that this recipe is also my first post.

    What Makes This Banana Bread Work

    • The right bananas matter. You want bananas that are perfectly overripe. They should be still yellow with brown spots but not overly brown with bruised flesh once peeled. Bananas that aren’t ripe enough can leave you with a lumpier texture, while bananas that are extremely brown and bruised can make the bread overly sweet with a slightly bitter flavor.
    • You need more bananas than you might expect. The recipe calls for 2 cups of mashed bananas, which usually means 5 small or 4 medium-to-large bananas. Don’t worry if you end up with exactly 2 cups or even a little more – this recipe is forgiving.
    • Sour cream is the recipe’s secret weapon. It gives the bread its signature moistness and body, creating a rich texture that sets it apart from other banana breads.
    • How you incorporate the sour cream makes a difference. For the best texture, you will alternate adding the sour cream (usually by 1/3 cup portions) with the dry ingredients to your wet ingredients as listed in the instructions.
    • It’s an ideal weekend bake. This recipe is simple enough for a Saturday morning or afternoon baking project, but the payoff are loaves that feel special enough to look forward to all week.

    Banana Bread

    Once you have your perfectly ripe bananas, the rest is pretty straightforward. A few simple pantry staples, a little sour cream, and some easy steps are all it takes to turn those bananas your family stopped eating into moist, flavorful loaves that everyone will be happy to eat.
    Prep Time 20 minutes
    Cook Time 1 hour 10 minutes
    Total Time 1 hour 30 minutes
    Servings: 2 loaves
    Course: Breakfast
    Cuisine: American

    Ingredients
      

    • 2 cups mashed bananas 4-5 ripe bananas
    • 3 ½ cups unbleached all-purpose flour
    • 2 tsp baking soda
    • 2 tsp baking powder
    • 1 tsp salt
    • 1 cup unsalted butter room temperature
    • 2 cups sugar
    • 2 tsp vanilla
    • 2 tsp lemon juice
    • 4 eggs room temperature
    • 1 cup sour cream

    Method
     

    1. Preheat your oven to 350 degrees.
    2. Coat two standard loaf pans with cooking/baking spray.
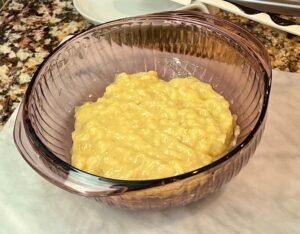
    3. Peel your bananas and place them into a glass bowl. Mash until they have a baby food like consistency. Set aside.
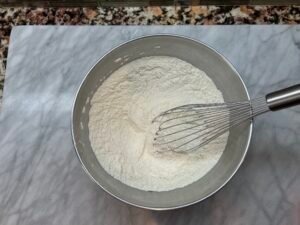
    4. Prepare your dry ingredients by adding into a separate mixing bowl, the flour, salt, baking soda, and baking powder. Whisk until well combined.
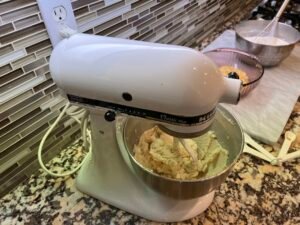
    5. In a separate bowl with a stand or hand mixture, add butter and sugar. Using your mixer, cream these together until well combined. Add vanilla and blend into mixture. Add lemon juice and blend into mixture. Add eggs one at a time and incorporate into mixture. Make sure to scrap down sides of bowl with a spatula along the way.
    6. Add mashed bananas to wet ingredient mixture until well combined.
    7. Incorporate sour cream and dry ingredients into wet mixture, by alternating 1/3 cup sour cream with 1/3 of dry ingredients while maintaining consistent speed with mixer. Once all ingredients have been combined, turn off mixer. You do not want to over mix. You can scrape down the side of the bowl and do one more quick mixing of the ingredients if needed.
    8. Divide dough evenly between prepared loaf pans.
    9. Place pans in preheated oven and bake for 60 to 70 minutes. Bread should be browned and inserted toothpick should come out fairly clean. I advise checking periodically when bread is nearly done as ovens can vary slightly.
    10. Let bread cool bread on cold stove top or wire rack.
    11. Best enjoyed fresh out of the oven but will remain good forup to a week (if it makes it that far).

    Notes

    *I make sure to peel and mash my bananas first. This way if I find that the bananas aren’t quite the right ripeness or don’t seem like enough for 2 cups, I can hold off on making banana bread without having prepared or wasted any other ingredients.
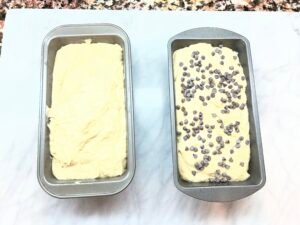
    **Variations of this recipe can include pecans or chocolate chips. If adding for both loaves, you can fold in 1 cup of additional ingredient to the mix before dividing it between two loaf pans. If just adding to one loaf (as seen in my picture above), you will want to first fill one loaf pan with the mix and then add ½ cup to the remaining mix before filling the last loaf pan. If you do this, I also recommend sprinkling a bit extra on top.
    1 comment on The Only Banana Recipe You Need
  • The Meal Navigator

    The Planner’s Guide to restaurant-quality family meals and travel. Coming soon…