Category: Baking Corner

Baked goods

  • Halloween Sugar Cookies

    Halloween Sugar Cookies

    These cookies are the longest standing Halloween tradition in our house, dating back to when my daughter was in preschool. This recipe makes a generous number of cookies, so it definitely helps to have some extra hands, especially when it comes to frosting and decorating. It has always been a group effort that sometimes extends to aunts, friends, and grandmas. As my kids have gotten older, they may not help as much as they once did, but they still always contribute.

    The cookies are easy to make but time consuming, making them perfect for weekend baking project. The dough comes together quickly but needs to chill in the refrigerator before being rolled out and cut into your desired shapes. Rolling the dough, cutting into shapes and baking the cookies becomes quite the assembly line. Fortunately, the cookies don’t take long in the oven so the process moves along smoothly.

    I recommend setting aside a large counter space or table for the cookie decorating. I usually cover our dining table or kitchen island in foil and place the cookies there to cool. The cookies will still be soft when they first come out of the oven, so I let them cool briefly on the baking sheet before transferring them to the decorating area.

    Depending on how many helpers I have, I set up this workspace with frosting and an assortment of sprinkles. If you have a few helpers, I recommend making the frosting before you start baking the cookies. Since the cookies cool quickly, everyone can start decorating while you finish baking the remaining cookies. To make things extra fun, divide the frosting into separate bowls and add food coloring to create a variety of colors.

    These cookies are especially perfect for fall thanks to their distinct flavors. Cinnamon, nutmeg, and brown sugar give the cookies a warm sweetness that fits the season beautifully. The frosting adds just the right amount of sweetness. I will admit that I have occasionally used store bought frosting when I am short on time, but homemade frosting is worth the extra effort because it as it tastes so much better than anything at the store. A hint of almond extract in the frosting gives it that special something while keeping the amount to one half teaspoon ensures that the flavor doesn’t overpower the cookies.

    What Makes This Recipe Work

    • Cinnamon and nutmeg. These warm spices give the cookies a distantly fall flavor, making these perfect for Halloween.
    • Brown and granulated sugar. Using both sugars adds depth of flavor and gives the sugar cookies their distinct taste.
    • Baking powder. Helps create a tender cookie that is ideal for decorating.
    • Buttercream frosting. Adds just the right amount of sweetness while providing the perfect canvas for festive sprinkles.
    Halloween Sugar Cookies

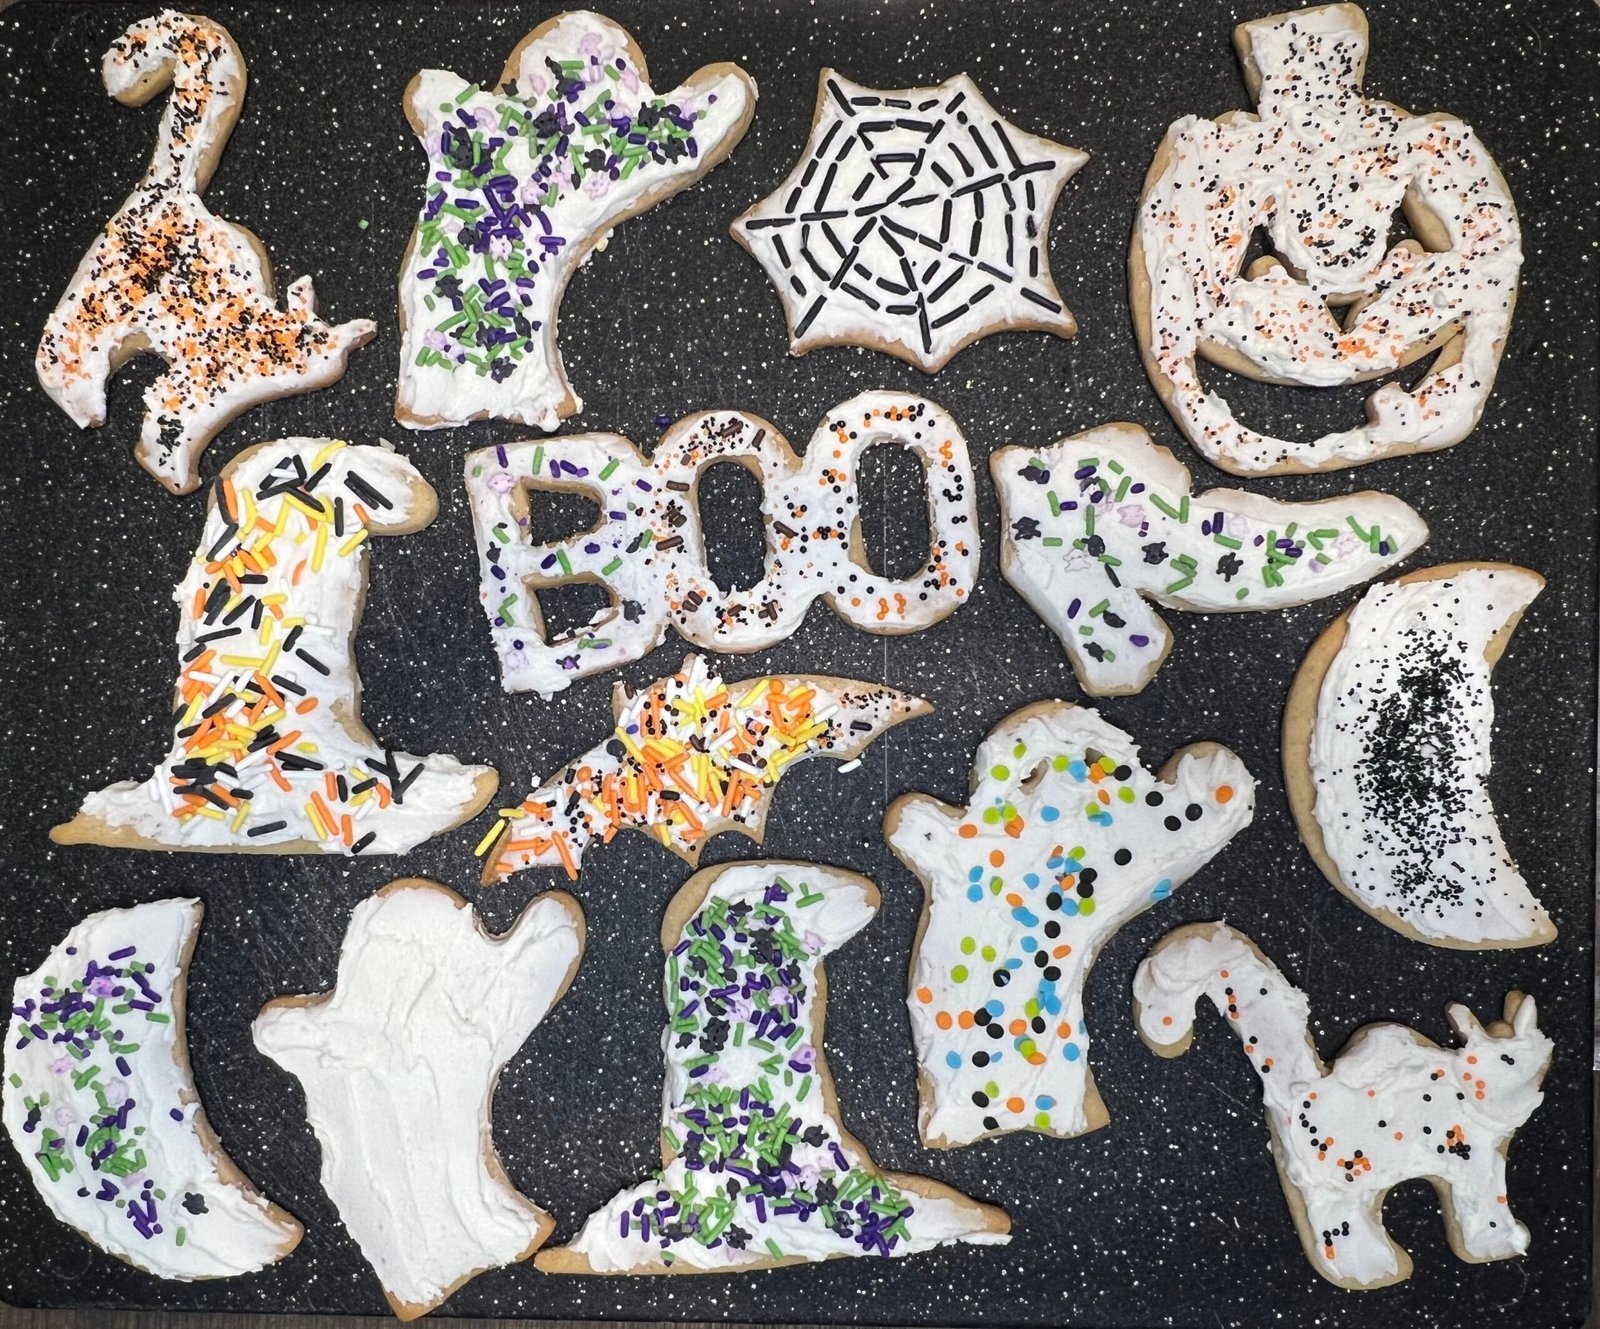
    Soft, warmly spiced sugar cookies made with cinnamon, nutmeg, and brown sugar, topped with sweet buttercream frosting and festive sprinkles.
    Total Time 2 hours 30 minutes
    Servings: 48 cookies
    Course: Dessert
    Cuisine: American

    Ingredients
      

    • Cookies
    • 1 1/3 cups unsalted butter room temperature
    • ¾ cup granulated sugar
    • ¾ cup brown sugar firmly packed
    • 2 large eggs
    • 2 tsp vanilla
    • 3 ½ cups all-purpose flour
    • 2 tsp baking powder
    • 1 tsp ground cinnamon
    • 1 tsp ground nutmeg
    • ½ tsp salt
    • Frosting
    • ½ cup unsalted butter room temperature
    • 3 to 5 Tbsp milk
    • 4 cups powdered sugar
    • ¼ tsp salt
    • ½ tsp almond extract
    • 1 tsp vanilla extract
    • Food coloring optional
    • Sprinkles optional

    Method
     

    1. Cookies
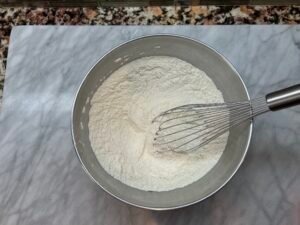
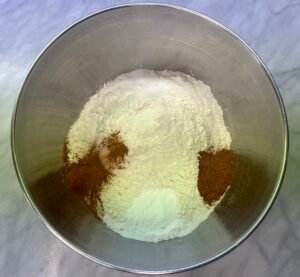
    2. Prepare your dry ingredients by adding into a separate mixing bowl, the flour, baking powder, cinnamon, nutmeg, and salt. Whisk until well combined.
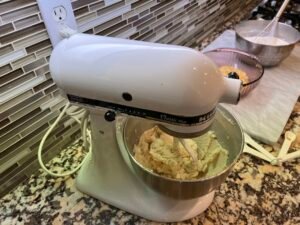
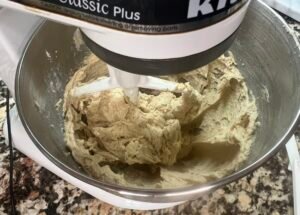
    3. In a separate bowl with a stand or hand mixture, add butter and both sugars. Using your mixer, cream these together until well combined. Add eggs one at a time and incorporate into mixture. Add vanilla and blend into mixture. Make sure to scrap down sides of bowl with a spatula along the way.
    4. Mix the dry ingredients into the wet ingredients until just blended. You do not want to over mix. You can scrape down the side of the bowl and do one more quick mixing of the ingredients if needed.
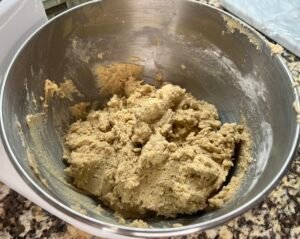
    5. Divide dough into three portions and wrap in plastic wrap. Chill in refrigerator for 45 minutes or up to 2 days.
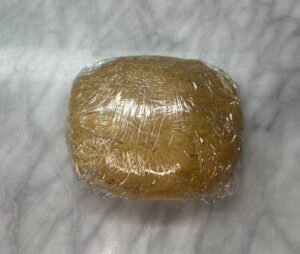
    6. When ready to bake, preheat oven to 350 and line baking sheets with parchment paper.
    7. Working with one portion of the dough at a time, remove from plastic wrap and set on floured work surface and roll out dough to ¼ inch thickness. Use cooking cutters to make desired shapes. Transfer to parchment lined baking sheets and place one inch apart. Repeat with remaining dough by gathering scraps and pressing them together into a ball, and repeat these steps until scraps are completely used. Repeat with remaining chilled rounds.

    8. Place pans in preheated oven and bake for 8 or 9 minutes or until cookies are brown on edges and firm. If baking more than one baking sheet at a time, rotate in oven halfway through cooking time. Cool on sheets for 1 minute and then on cool surface. Cool sheets before filling with more cookies.
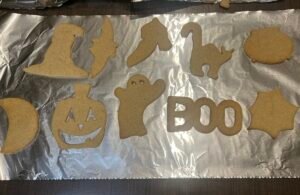
    9. Frosting and decorating cookies
    10. In a large mixing bowl, cream butter with mixer until smooth. Add 1 cup of powdered sugar, milk, and salt. Beat to combine.
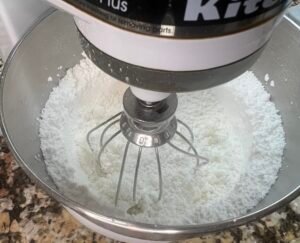
    11. Add remaining sugar, almond extract, and vanilla. Beat to combine.
    12. Add additional milk until well combined and mixture is desired consistency.
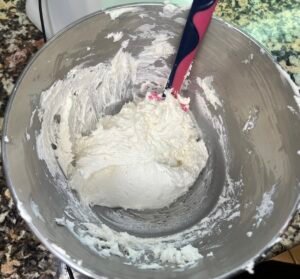
    13. Spread or use piping bag to frost cookies. Top with sprinkles immediately. Allow frosting to harden before storing.
    Notes

    Can be stored at room temperature in an airtight container for one week.
    You can divide and add food coloring to frosting as desired.
  • The Only Banana Recipe You Need

    The Only Banana Recipe You Need

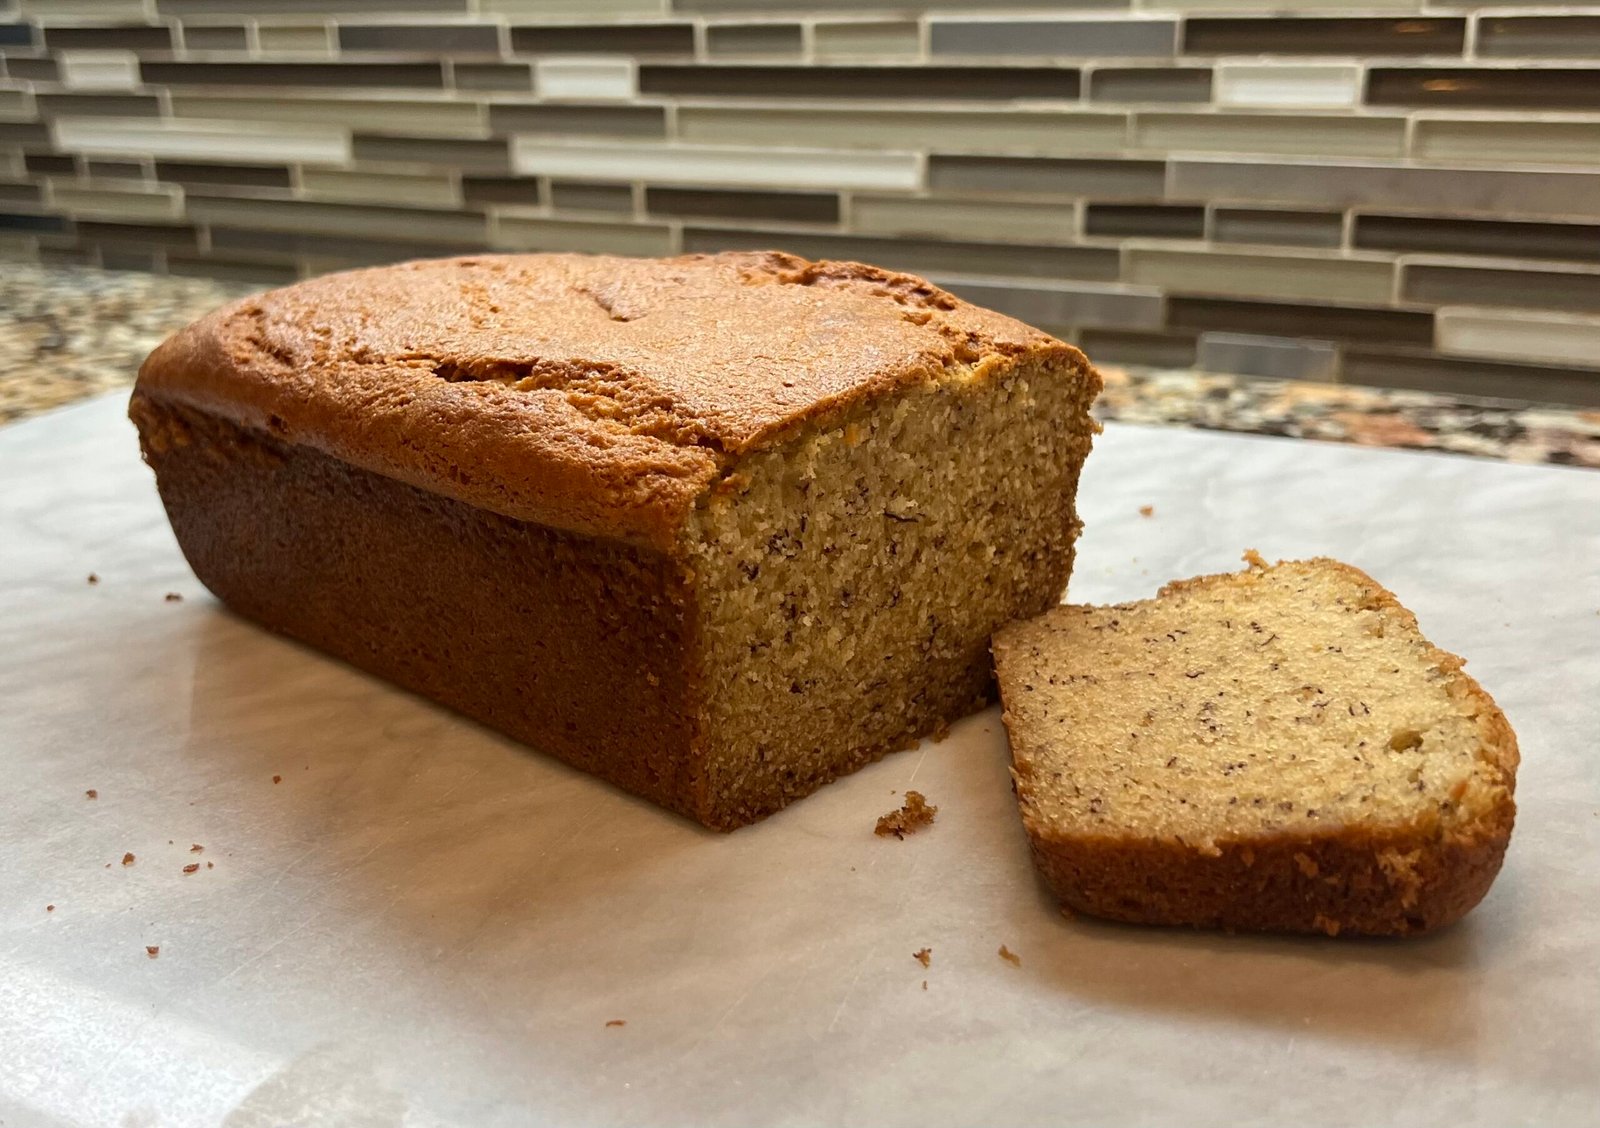
    This banana bread is a staple in our family routine. It is the perfect Saturday baking project that delivers a rich, moist texture and deep banana flavor, yet requires simple pantry staples and zero complicated equipment. It is the perfect weekend bake to slice up for easy, grab-and-go family breakfasts throughout a busy week.

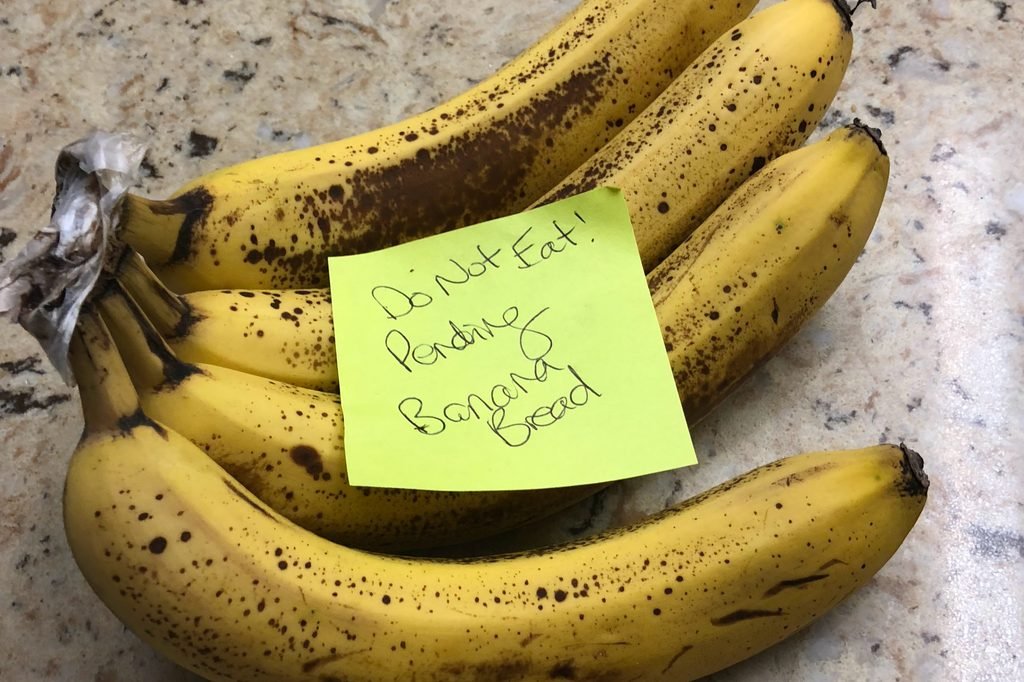
    There is a conspiracy in my house, and it involves bananas—or, more specifically, the lack of them. Bananas are always readily available. My athletic kids love them as snacks or as the base for smoothies, so I buy a decent-sized bunch every week. But once the number dwindles down, they suddenly are no longer consumed. The family is saving the rest for banana bread.

    This recipe was the first thing I ever baked, and after years of making it, it has become one of those recipes that friends, family, and co-workers know and request. It has even won an office banana bread bake-off. So, it only seems fitting that this recipe is also my first post.

    What Makes This Banana Bread Work

    • The right bananas matter. You want bananas that are perfectly overripe. They should be still yellow with brown spots but not overly brown with bruised flesh once peeled. Bananas that aren’t ripe enough can leave you with a lumpier texture, while bananas that are extremely brown and bruised can make the bread overly sweet with a slightly bitter flavor.
    • You need more bananas than you might expect. The recipe calls for 2 cups of mashed bananas, which usually means 5 small or 4 medium-to-large bananas. Don’t worry if you end up with exactly 2 cups or even a little more – this recipe is forgiving.
    • Sour cream is the recipe’s secret weapon. It gives the bread its signature moistness and body, creating a rich texture that sets it apart from other banana breads.
    • How you incorporate the sour cream makes a difference. For the best texture, you will alternate adding the sour cream (usually by 1/3 cup portions) with the dry ingredients to your wet ingredients as listed in the instructions.
    • It’s an ideal weekend bake. This recipe is simple enough for a Saturday morning or afternoon baking project, but the payoff are loaves that feel special enough to look forward to all week.

    Banana Bread

    Once you have your perfectly ripe bananas, the rest is pretty straightforward. A few simple pantry staples, a little sour cream, and some easy steps are all it takes to turn those bananas your family stopped eating into moist, flavorful loaves that everyone will be happy to eat.
    Prep Time 20 minutes
    Cook Time 1 hour 10 minutes
    Total Time 1 hour 30 minutes
    Servings: 2 loaves
    Course: Breakfast
    Cuisine: American

    Ingredients
      

    • 2 cups mashed bananas 4-5 ripe bananas
    • 3 ½ cups unbleached all-purpose flour
    • 2 tsp baking soda
    • 2 tsp baking powder
    • 1 tsp salt
    • 1 cup unsalted butter room temperature
    • 2 cups sugar
    • 2 tsp vanilla
    • 2 tsp lemon juice
    • 4 eggs room temperature
    • 1 cup sour cream

    Method
     

    1. Preheat your oven to 350 degrees.
    2. Coat two standard loaf pans with cooking/baking spray.
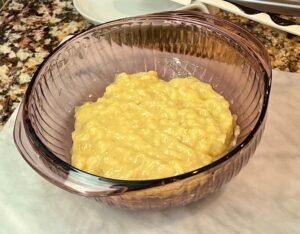
    3. Peel your bananas and place them into a glass bowl. Mash until they have a baby food like consistency. Set aside.
    4. Prepare your dry ingredients by adding into a separate mixing bowl, the flour, salt, baking soda, and baking powder. Whisk until well combined.
    5. In a separate bowl with a stand or hand mixture, add butter and sugar. Using your mixer, cream these together until well combined. Add vanilla and blend into mixture. Add lemon juice and blend into mixture. Add eggs one at a time and incorporate into mixture. Make sure to scrap down sides of bowl with a spatula along the way.
    6. Add mashed bananas to wet ingredient mixture until well combined.
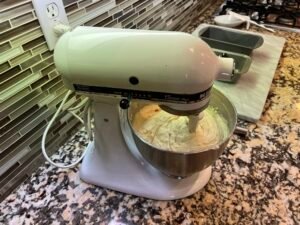
    7. Incorporate sour cream and dry ingredients into wet mixture, by alternating 1/3 cup sour cream with 1/3 of dry ingredients while maintaining consistent speed with mixer. Once all ingredients have been combined, turn off mixer. You do not want to over mix. You can scrape down the side of the bowl and do one more quick mixing of the ingredients if needed.
    8. Divide dough evenly between prepared loaf pans.
    9. Place pans in preheated oven and bake for 60 to 70 minutes. Bread should be browned and inserted toothpick should come out fairly clean. I advise checking periodically when bread is nearly done as ovens can vary slightly.
    10. Let bread cool bread on cold stove top or wire rack.
    11. Best enjoyed fresh out of the oven but will remain good forup to a week (if it makes it that far).

    Notes

    *I make sure to peel and mash my bananas first. This way if I find that the bananas aren’t quite the right ripeness or don’t seem like enough for 2 cups, I can hold off on making banana bread without having prepared or wasted any other ingredients.
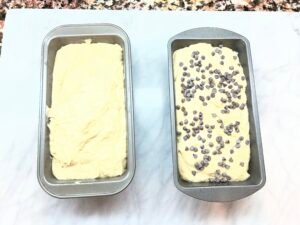
    **Variations of this recipe can include pecans or chocolate chips. If adding for both loaves, you can fold in 1 cup of additional ingredient to the mix before dividing it between two loaf pans. If just adding to one loaf (as seen in my picture above), you will want to first fill one loaf pan with the mix and then add ½ cup to the remaining mix before filling the last loaf pan. If you do this, I also recommend sprinkling a bit extra on top.
    1 comment on The Only Banana Recipe You Need